Component = input field
A component in the form builder provides an input field where users can enter information in an e-document. There are various types of components such as signature, check, date, and text. Each component can be set in detail through the Component Properties window.
Types of Components

- Check: Ticks a checkbox.
- Radio: Selects an item among multiple items (can also be set to select multiple items).
- Text: Enters short text (usually 1 to 2 words).
- Multiline: Enters long text with multiple lines.
- Combo: Displays a drop-down menu that allows you to select an item.
- Datetime: Enters a specific date.
- Numeric: Enters a number.
- Toggle: Switches to another value if two or more values are entered.
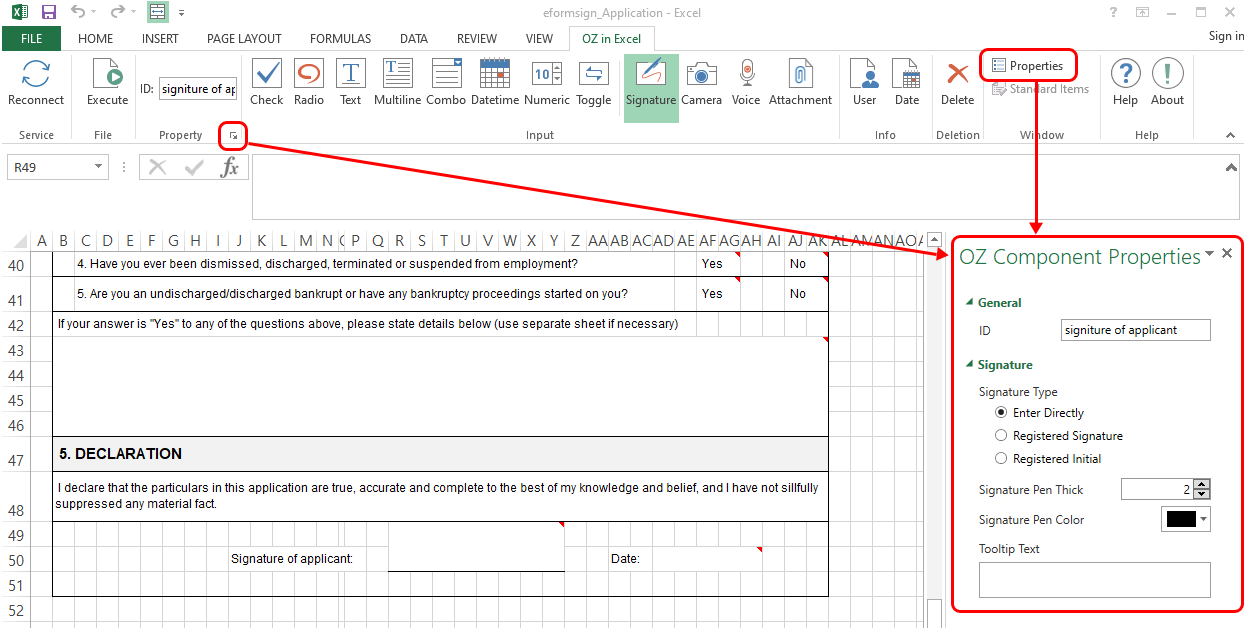
- Signature: Enters a signature.
- Camera: Takes a photo using a camera or selects a photo from an album in devices connected to a camera (e.g. smartphone, tablet, etc.). Selects an image file in devices without a camera (e.g. desktop PC).
- Voice: Records audio in devices with a voice recording function.
- Attachment: Attaches a file.
- User: Enters information of the document user.
- Date: Enters the date in which the document is created or modified.
- Document: Enters the document number or ID in the document itself.
Properties
All components have their own ‘Properties’ tab for detail settings. You can click the Properties icon or the Properties menu to open the tab.
[Tip] Enter the ID of the component in the Properties tab
All components must have a unique ID. An ID is automatically generated when a component is added. However, it is recommended to change the ID to one that is easy to read. For example, the ID of a component where names such as John Doe, Jane Doe, etc. can be named ‘personName’.
Adding a Component
Adding a component in Excel
- Go to the OZ in Excel menu.
- Select a cell to add a component.
- Click on the desired component (Text, Check, Datetime, etc.).
- Check that the component is added.
Adding a Component in Word and PowerPoint
Method 1: Clicking a component
- Go to the OZ in Word/PowerPoint menu.
- Select the area where the component will be added.
- Click on the desired component.
- Resize the component.
Method 2: Drawing a component
- Go to the OZ in Word/PowerPoint menu.
- Click on the ‘Drawing Component’ icon’.
- Select the component you want in the drop-down menu.
- Add the component in the area and size you want.
Deleting a Component
- Select a component (can select multiple components).
- Click the ‘Delete’ icon in the OZ in Office menu.
- Check that the component has been deleted.