Only the admin and document creator can perform this action.
By using the ‘Send in bulk’ feature, you can create multiple documents at once. You can also preview the documents before sending them.
Creating multiple documents
- Login to eformsign.
- Go to Dashboard>Create new document
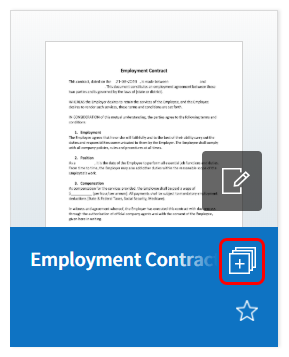
- Click the Send in bulk icon of the template you want.
- Fill in the fields you want.
- Click the Preview button on the top right corner of the screen to preview the documents.
- Click the Create button on the top right corner of the screen to create the documents.
What are the tables displayed in the ‘Send in bulk’ page?
Each row contains all the fields of a document. The IDs of components (which are fields in a template) are shown as the name of each column. The last row of the first column (No.) indicates the number of documents to be created.
Tables are filled in a similar way as in Excel. You can double-click on each cell and right-click on the mouse to add or delete columns. The value entered in a cell can be copied, pasted, and dragged to another cell.
What does the area highlighted in blue mean?
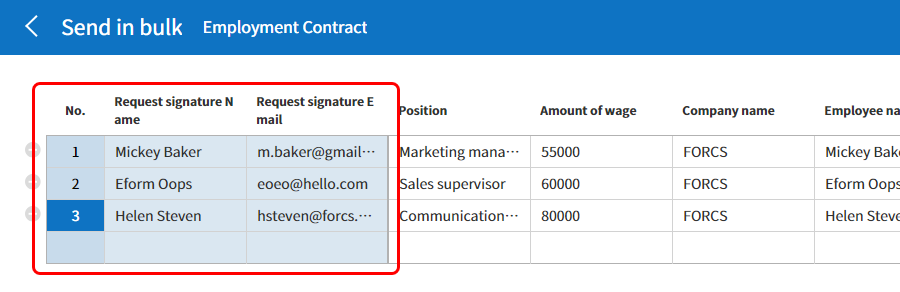
If there is an external process step in a template, then the left area of the table is highlighted in blue. This area is for entering the external recipients’ names, emails, etc. Depending on the external process settings, there can be phone numbers, verification passwords, etc.
Some input items of a template are not shown
If there is an input item that is not shown in the ‘Send in bulk’ screen, then the following must be checked.
- The components that cannot be entered in ‘Send in bulk’.
: camera, voice, and grouped radio components cannot be used in ‘Send in bulk’. - Check whether the components are allowed access in Template settings.
: Only the components that are checked to be allowed access in the Manage items tab of Template settings(⚙) > Workflow are shown.