By registering your own signature in eformsign, you do not need to manually write a signature every time you need to sign. Just keep in mind that in order to use this feature, you first need to set the properties of the signature component in OZ in Word/Excel/PowerPoint to ‘Registered Signature’.
How to register my signature
You can perform this action in PC (browser), mobile (browser), and mobile app environments.
- Login to eformsign.
- Got to the ‘My Signature’ menu in the dashboard.
- Click the ‘Register’ button in the ‘Signature’ section.
- Register the signature.
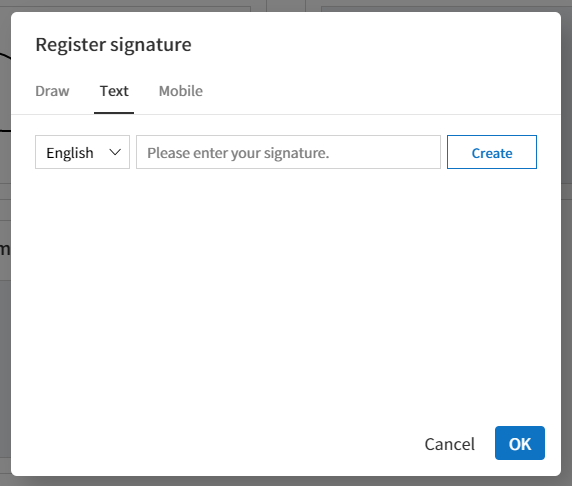
- Draw: Allows to draw your own signature.
- Text: Allows to type your name and then select a signature style.
- Mobile
- QR code:
Opens up the signature pad screen when scanning a QR code with a smartphone. You can then draw your own signature on the signature pad. - Push notification:
Displays the list of smartphones that have the eformsign app installed. You can select the desired smartphone and then click the ‘Send’ button to send a signature request to the device.
- QR code:
- ‘Click the ‘OK’ button to save the signature.
- You can edit or delete the signature by clicking the ‘Edit’ or ‘Delete’ buttons.
How to use a registered signature in a document
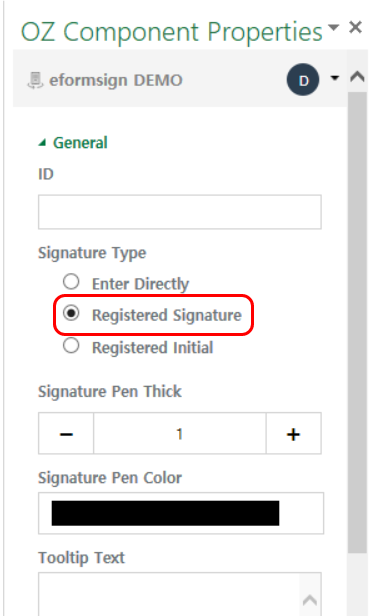
To use a registered signature when creating a document, ‘Signature Type’ must be set to ‘Registered Signature’ in ‘Component Properties’.
- Open the original file (in Word, Excel, or PowerPoint) of the template or create a new document using Word, Excel, or PowerPoint.
- Go to the OZ in Word/Excel/PowerPoint menu.
- Place a signature component in the desired area.
- Click ‘Properties’ in the ribbon menu to show ‘Component Properties’ on the right.
- Select ‘Registered Signature’ under ‘Signature Type’.
- Upload the template on eformsign.
- Create a document from the template on eformsign.
- On the document, click on the signature component to see whether the signature is automatically entered when clicked.
※ If ‘Signature Type’ is set to ‘Registered Signature’ but there is no registered signature, then a signature pad screen will be displayed.