

Thanks for visiting our February product updates blog. Take a look at what eformsign has beenThanks for visiting our May product updates blog. Take a look at what eformsign has been up to this month.
1. [New] Check out our revamped dashboard!
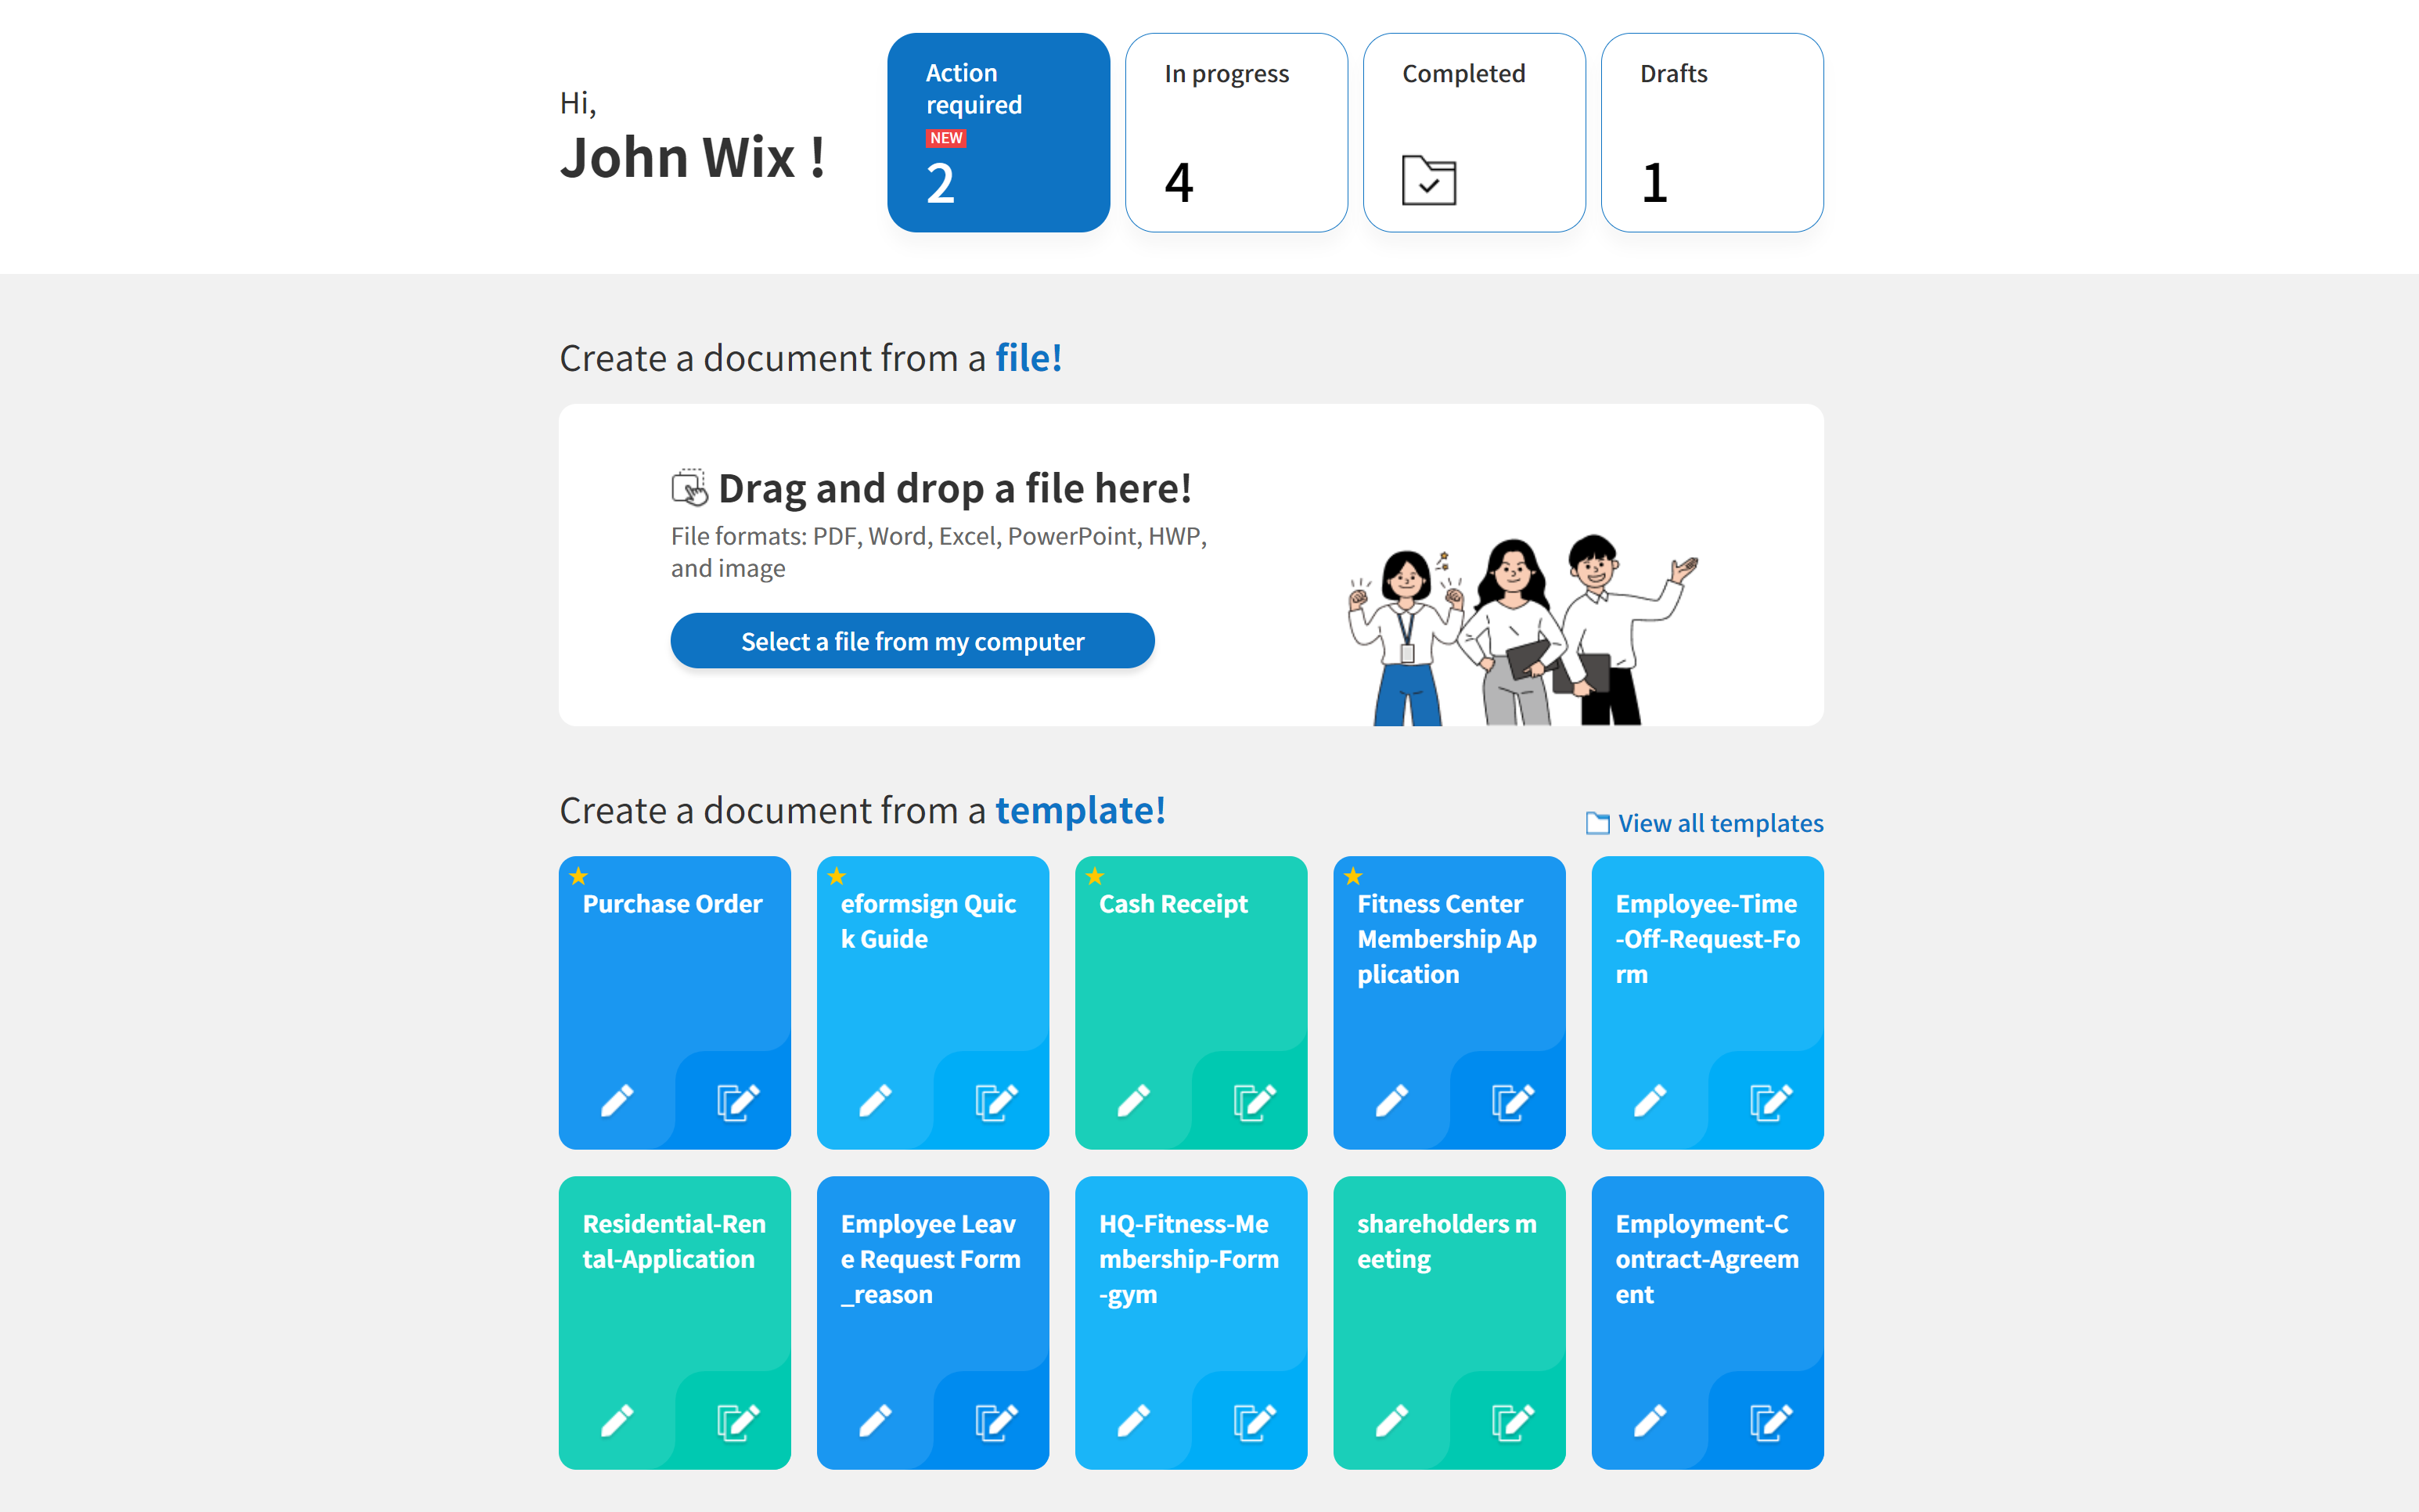
The eformsign dashboard has been revamped!
With the new dashboard UI, you can now view your most important templates (favorited, most recently used, and most recently uploaded) on the dashboard, allowing you to create documents from templates with a click of a button!
2. [New] Try out our new hyperlink field!
You can now add hyperlinks in Web Form Designer with our new hyperlink field. If the hyperlink is linked to a web address, the page opens with a new tab or window.
Instructions:
- Drag & drop a hyperlink field onto the document and go to the field properties on the right.
- Enter the text to display and the address of the hyperlink.
* Note that if you leave “Text to display” blank in field properties, then what you enter in “Address” will automatically be entered there.
3. [New] Create stamps online!
The create stamp feature has been added. You can now create stamps in eformsign without the need to scan or upload an image of the stamp.
Instructions:
- Go to My signature > Stamp > Edit to create a personal stamp or go to Manage company > Manage company stamp > Add company stamp > Register > Create stamp to create a company stamp.
- Create a name for the stamp and choose the date format, additional info, stamp color, and then click the Generate stamp button.
- Choose one of the stamp styles and click the Save button.
*If you choose a stamp style with a date, today’s date is applied to the stamp.
4. [Enhancement] Try out our new and improved check and radio fields!
Check and radio fields have been enhanced. When adding check and radio fields, the placeholder text is no longer displayed by default. However, you can still manually enter placeholder text in the field properties on the right.
Additionally, you can now choose to align the check/radio box to the right/left of text.
5. [New] Try out our autofit text feature for text and multiline fields!
The Autofit text feature has been added for text and multiline fields. This feature, which can be set in the field properties, allows you to limit character count to fit the text field, resize font to fit the text field, and set the character limit for each text and multiline field.
Instructions:
- Drag & drop a text/multiline field onto the document and go to the field properties on the right.
- Go to Autofit text and choose from the three options available. Note that choosing “Limit character count to fit the text field” disables all other options.
*Note that if you select Custom for the input type, all options other than the Resize font to fit the text field option are disabled.
6. [Enhancement] Select custom input type for text and multiline fields
The Select custom input type has been added for text and multiline fields. This feature allows you to select additional input types as well as create a custom input type by creating a rule.
Instructions:
- Drag & drop a text/multiline field onto the document and go to the field properties on the right.
- Go to Input type and select, “Custom”.
- Go to Select custom input type and click on the drop-down menu to select one of the input types available, or select Create input type and create a custom type by creating a rule in the field below.
*You can find the rules to enter by hovering over the question mark symbol next to Select custom input type.
7. [Enhancement] The document download feature is now better than ever!
The document download feature has been enhanced and is applied to the Completed and Bulk send inboxes, the shared folder, and the Manage documents page.
You can now download PDF and CSV files by clicking the Download button and Export to CSV button, respectively.
Furthermore, you can now view the list of CSV files ready to be downloaded by clicking the View CSV files button.
How to download PDF files:
- Go to the Completed and Bulk send inboxes, the Shared folderManage documents page and click the PDF download icon.
- Select the documents you want by ticking the check boxes to the left of the document list.
- Click the Download button.
- In the Download pop-up displayed, check whether to include the audit trail certificate and then click the Download button.
How to download CSV files:
- Go to the Completed and Bulk send inboxes, the Shared folder, or Manage documents page and click the CSV download icon.
- Select the documents you want by ticking the check boxes to the left of the document list.
- Click the Export to CSV file button.
- In the Export to CSV file pop-up displayed, select the columns you want to download and the range of of documents (just the selected ones or all results).
- Click the Export button.
- Enter a name for the file to be generated and click the Confirm button.
- Once the CSV file is generated and ready for download, click the CSV files icon to open the CSV files pop-up to download the file.
*Note that CSV files are available for download for 7 days after they are generated, and are automatically deleted after.
*When downloading files in the Bulk send inbox, you download documents by selecting the documents you want and then clicking the Download (for PDFs) or Export to CSV file (for CSVs) buttons.