

Thanks for visiting our December product updates blog. Take a look at what eformsign has been up to this month.
[Enhancement] Expanded identity verification functionality is now available at every step
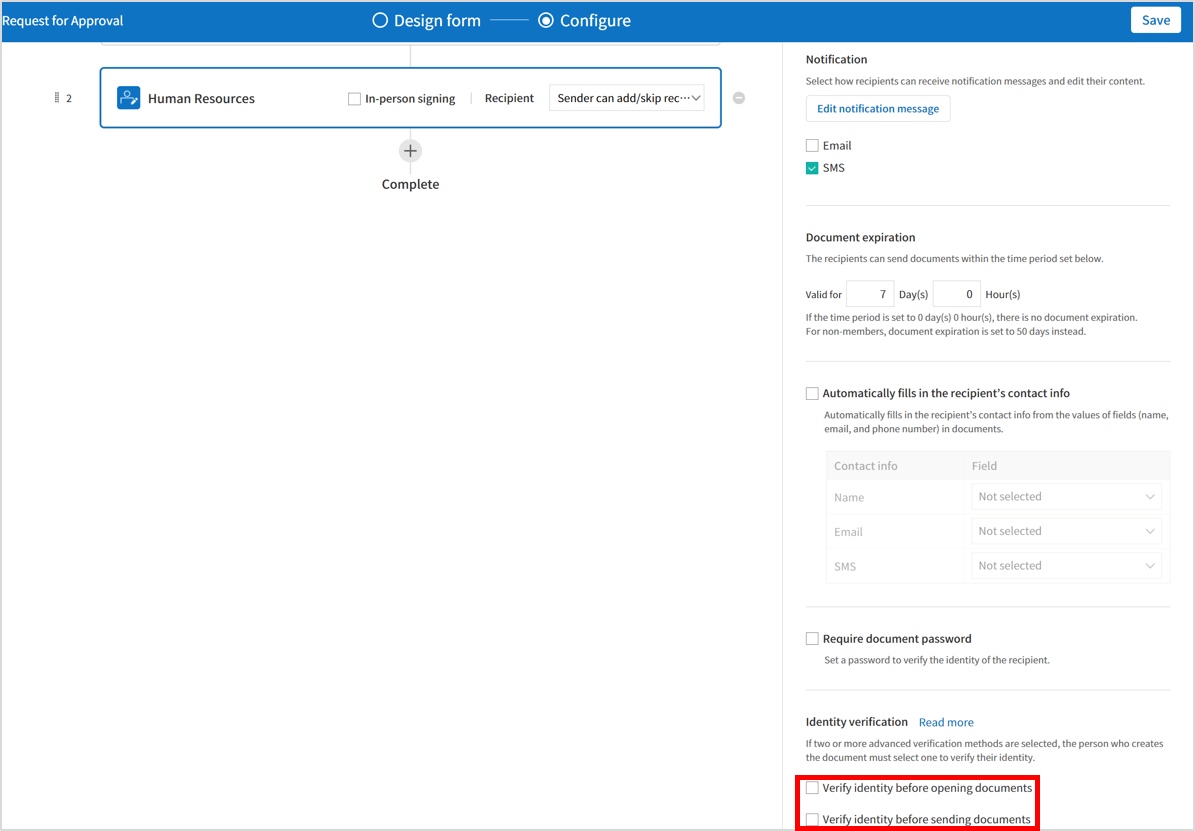
We have expanded the identity verification feature so that you can now verify identities at every step of the workflow for enhanced security.
Also, you can now choose to verify identities before sending documents in addition to before viewing documents.
[Enhancement] Updated template creation permissions and publishing process
We have updated template creation permissions so that template creation permissions can be granted to ordinary members. Previously, only template managers could upload and add templates.
Additionally, the template publishing process has been improved to require approval from a template manager before templates can be published.
If you want to grant template creation permission to share a template you created, you must request a publication/deletion request to a different template manager or the company administrator and gain approval.
✅ Instructions
How grant the Create template permission
- Navigate to the Manage company > Manage permissions page and then click the Create template menu on the left side of the screen.
- Select the Manager or group option at the top of the screen.
- Click the Add a manager or group button on the right side of the screen.
- Select the manager type or group. and click the Confirm button to finish.
- To grant the Create template permission to all members, click the All members option and click OK to finish.
How to send a request to publish a template
- Navigate to the Manage templates page, click the Create template button, and select the Settings button of the desired template.
- Navigate to the Configure > Set permissions page and select the group or member you want to grant the template usage permission.
- Click the Save button and then click the Publish button.
- Select the desired template publisher and click the Send publish request button.
How template managers can publish a template
- Navigate to the Manage templates page and click the Publish button next to the template with the publish request.
- Review the template, and check the “I have reviewed the template.” check box.
- Click the Publish button to finish.
[Enhancement] Expanded company manager permissions
We have broadened the scope of company manager permissions, making it easier for them to oversee important activities.
Company managers will now be able to access the Manage permissions page and the Manage activity history page, which were previously accessible only to company administrators.
[Enhancement] Expanded access to the Usage status page
We are making it easier for everyone in your company to understand their own usage patterns.
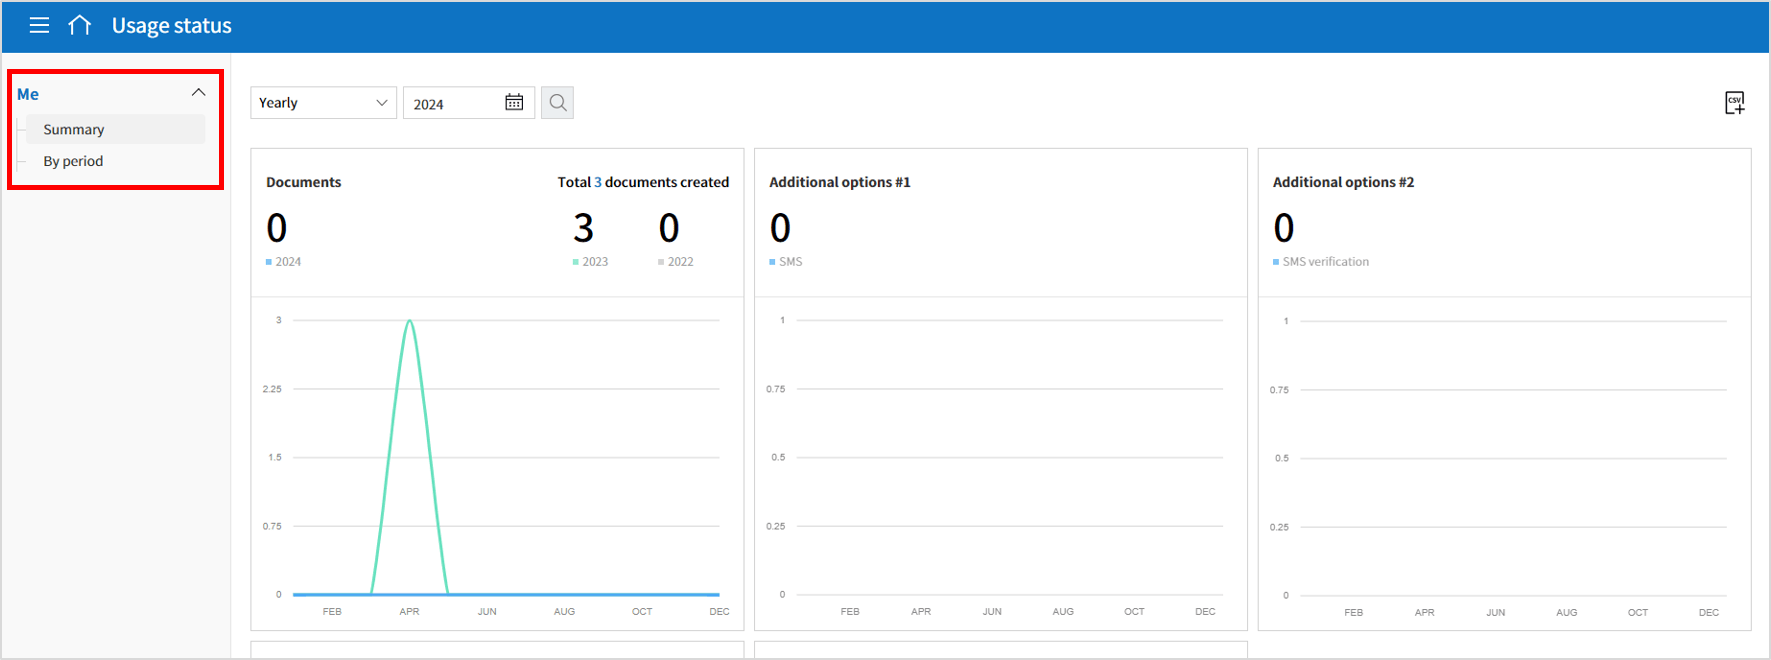
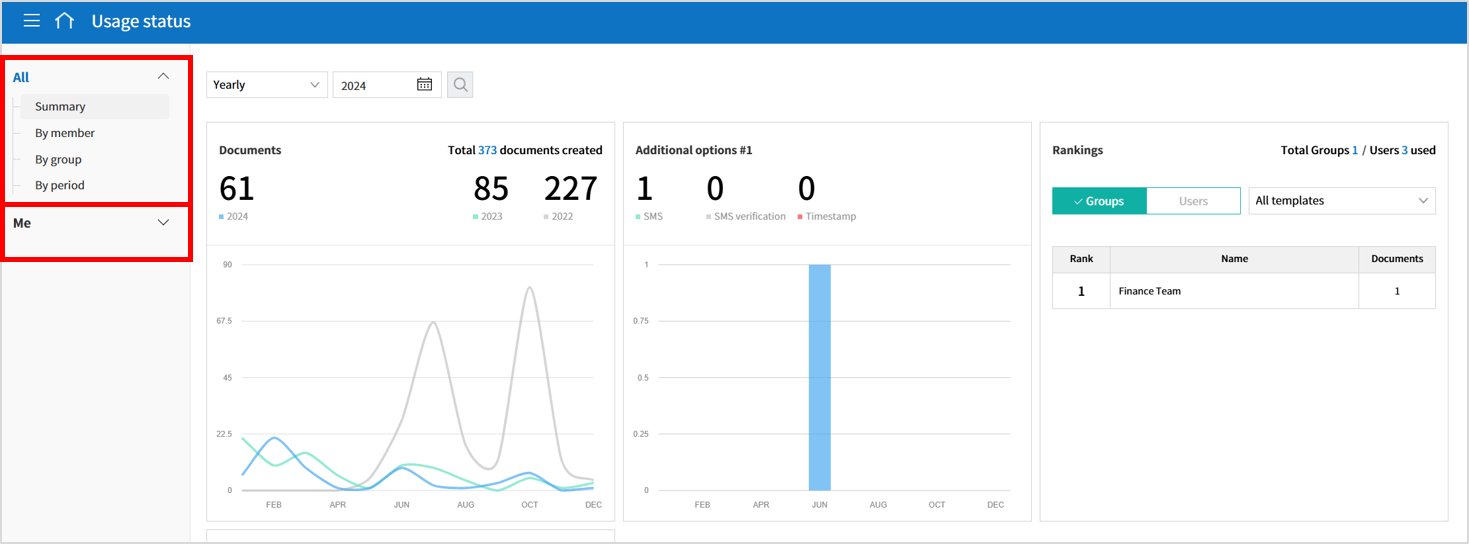
Previously, only company administrators and company managers could access the Usage status page. Now, ordinary members can view their own usage history, giving them greater visibility into their activities. In addition, company administrators and company managers will gain access to a more detailed view of the company’s overall usage.
For ordinary members
For company admninistrators and company managers
[Other] Usability improvements for a better experience
We have made several enhancements to improve overall usability and efficiency.
Details:
- Improved stamp scanning accuracy through enhanced stamp scan paper design.
- Display of a reason for voiding bulk sent documents in the Document status tab of document inboxes and in the Manage activity history > Document history page.
- Addition of a “Reason” column to the selectable columns when generating data files in the Bulk sent documents inbox, Completed inbox, Shared inbox, Manage documents page, Manage bulk sent document page, and the Trash page.