

This action requires either the Manage template or the company administrator permission, and can be done on a PC (web browser), a mobile device (web browser), and a mobile app (iOS and Android).
The Template settings page
- Log in to eformsign.
- Go to Template settings in the sidebar.
- Click the name or the gear icon (⚙) of the desired template.
The General tab
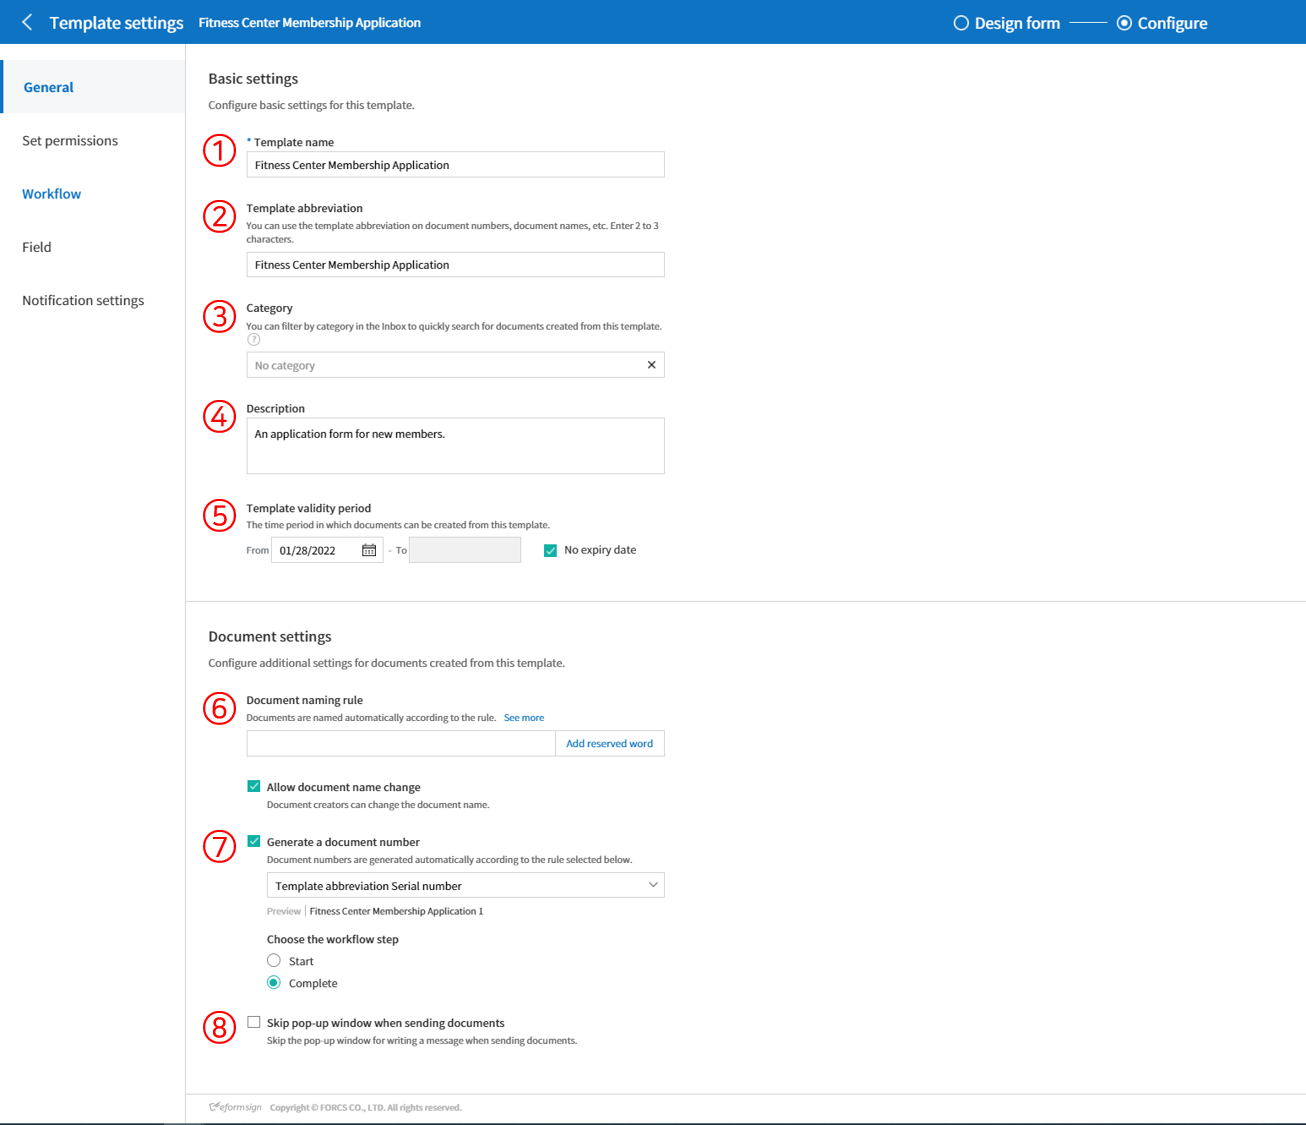
1. Template name
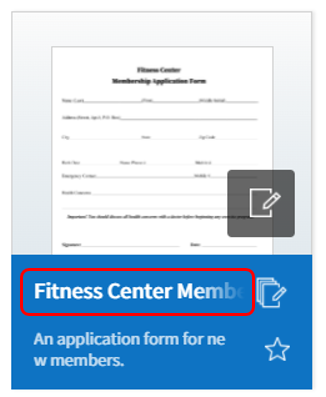
The template name will be displayed in the Manage templates and New from template pages.
The recommended length of the template name is about 11 characters, including spaces. If the name is longer than 11 characters, you can see the full name by hovering the mouse over the name.
2. Template abbreviation
A short name that briefly describes the template. It is recommended to use two or three words.
Template abbreviation can be used in the document number, document name, email template, etc.
3. Category
Category is used to sort templates by type. With the category name, you can filter templates in the Manage templates menu, and can filter documents in the Documents menus and the Manage documents menu. You can choose from an existing category or create a new category by entering a new name.
You can set multi-level categories with a separator ( / ). For example, if you set a category as HR Team/Vacation, the Vacation category in the HR category is created.
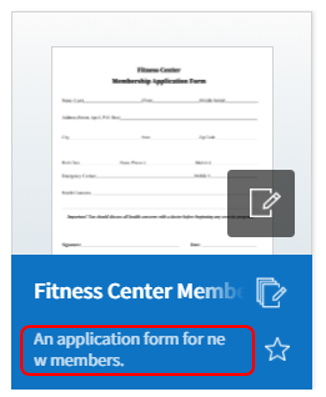
4. Description
Enter additional comments about the template. This description is displayed under the template name in New from template.
5. Template validity period
Sets the time period in which documents can be created from this template. By default, the start date is set to the uploaded date and you can change the date.
If you check No expiry date, documents can be created without a time limit. If you uncheck it and set the date, then documents can be created from the template up to that date.
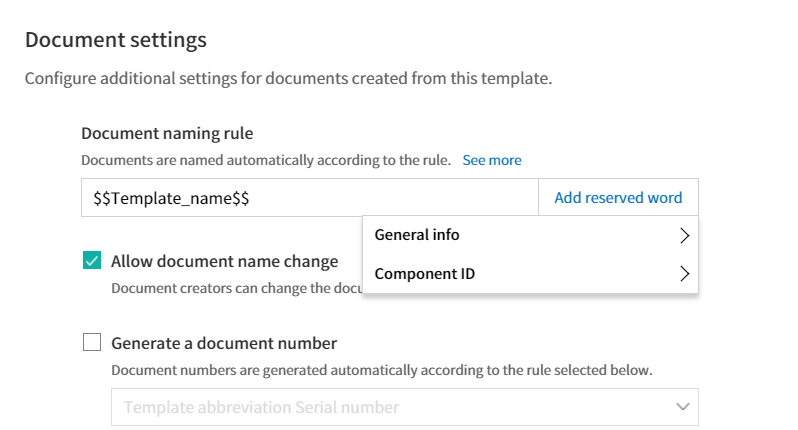
6. Document naming rule
Sets the document name when creating the document from the template. If a document naming rule is not set, the template name will be the document name.
You can set the document naming rule by clicking the [Add reserved word] button.
- Read more about the Document naming rule feature here.
If Allow document name change is checked, the document creator can change the document name in the [Start] step.
7. Generate a document number
If Generate a document number is checked, documents are automatically numbered. You can select the document number format and the workflow step in which document numbers are generated.
- Read more about the Generate a document number feature here.
8. Skip pop-up window when sending documents
You can use this feature when many documents are created and submitted. If this option is unchecked, a pop-up window for entering a message will appear when sending a document. When Skip pop-up window when sending documents is checked, the pop-up window does not appear and the page proceeds to the next step.