Only the company administrator or members with the Manage templates permission can perform this action.
When you fill out a form, there may be some fields you must fill out like the signer’s name and signature. This article shows you how to set required fields in an eformsign template.
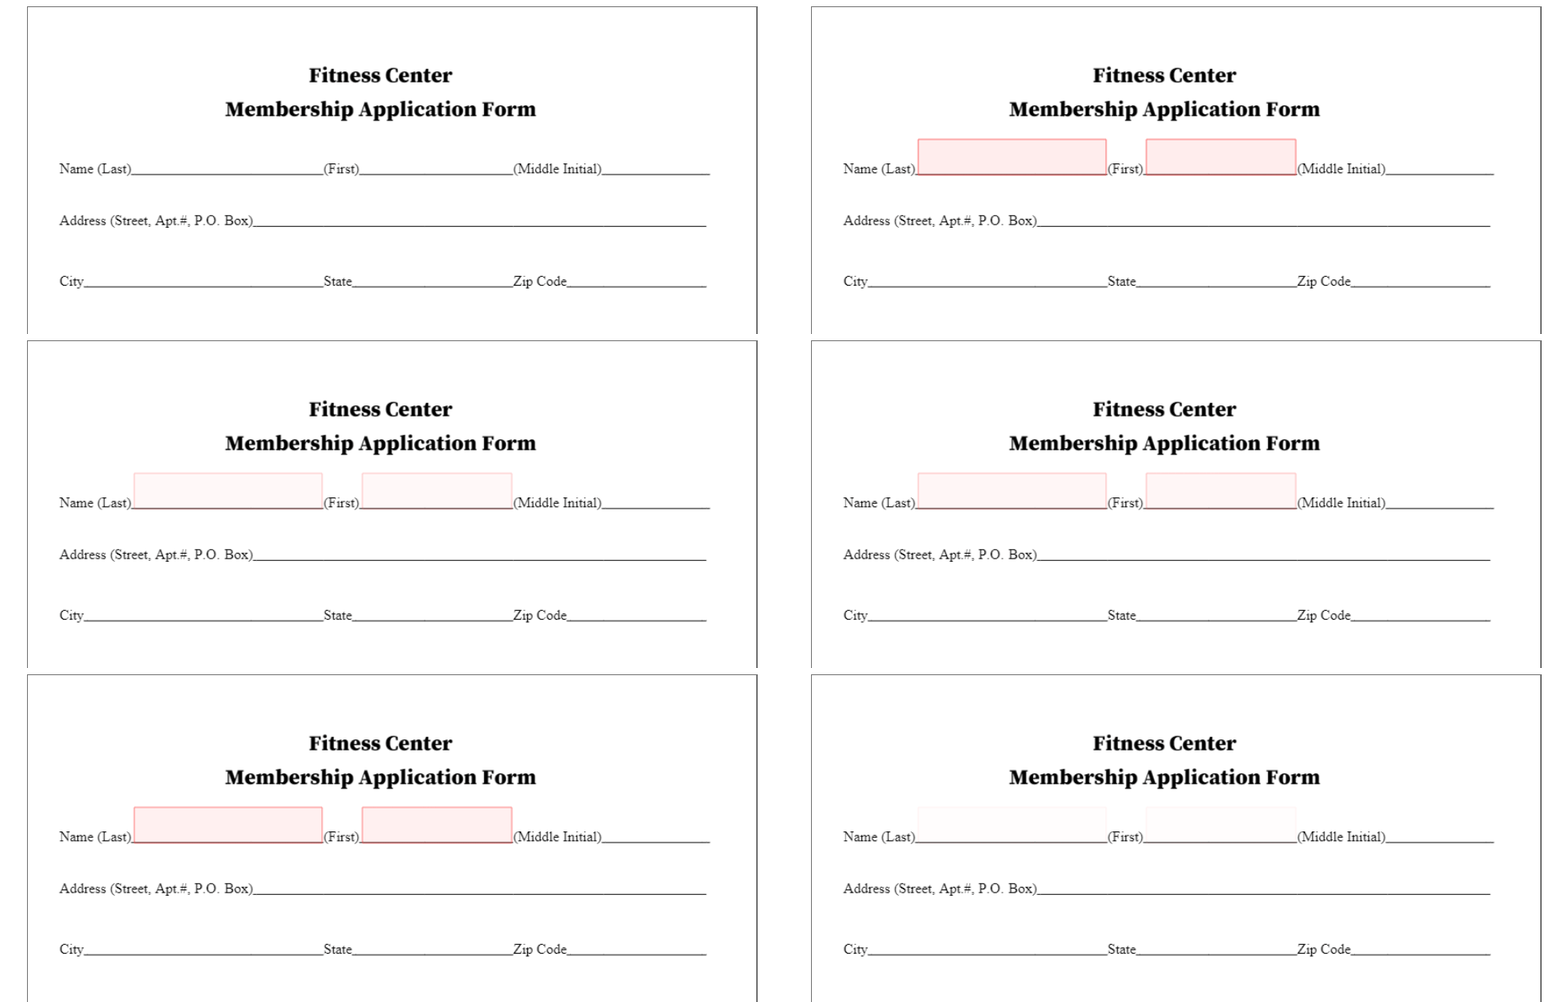
⚠ If you do not fill out the required fields when creating a document, you cannot submit the document.

How to set required fields

- Log in to eformsign.
- Go to the Manage templates menu in the sidebar.
- Click the settings icon (
 ) of the desired template to go to the Design form screen.
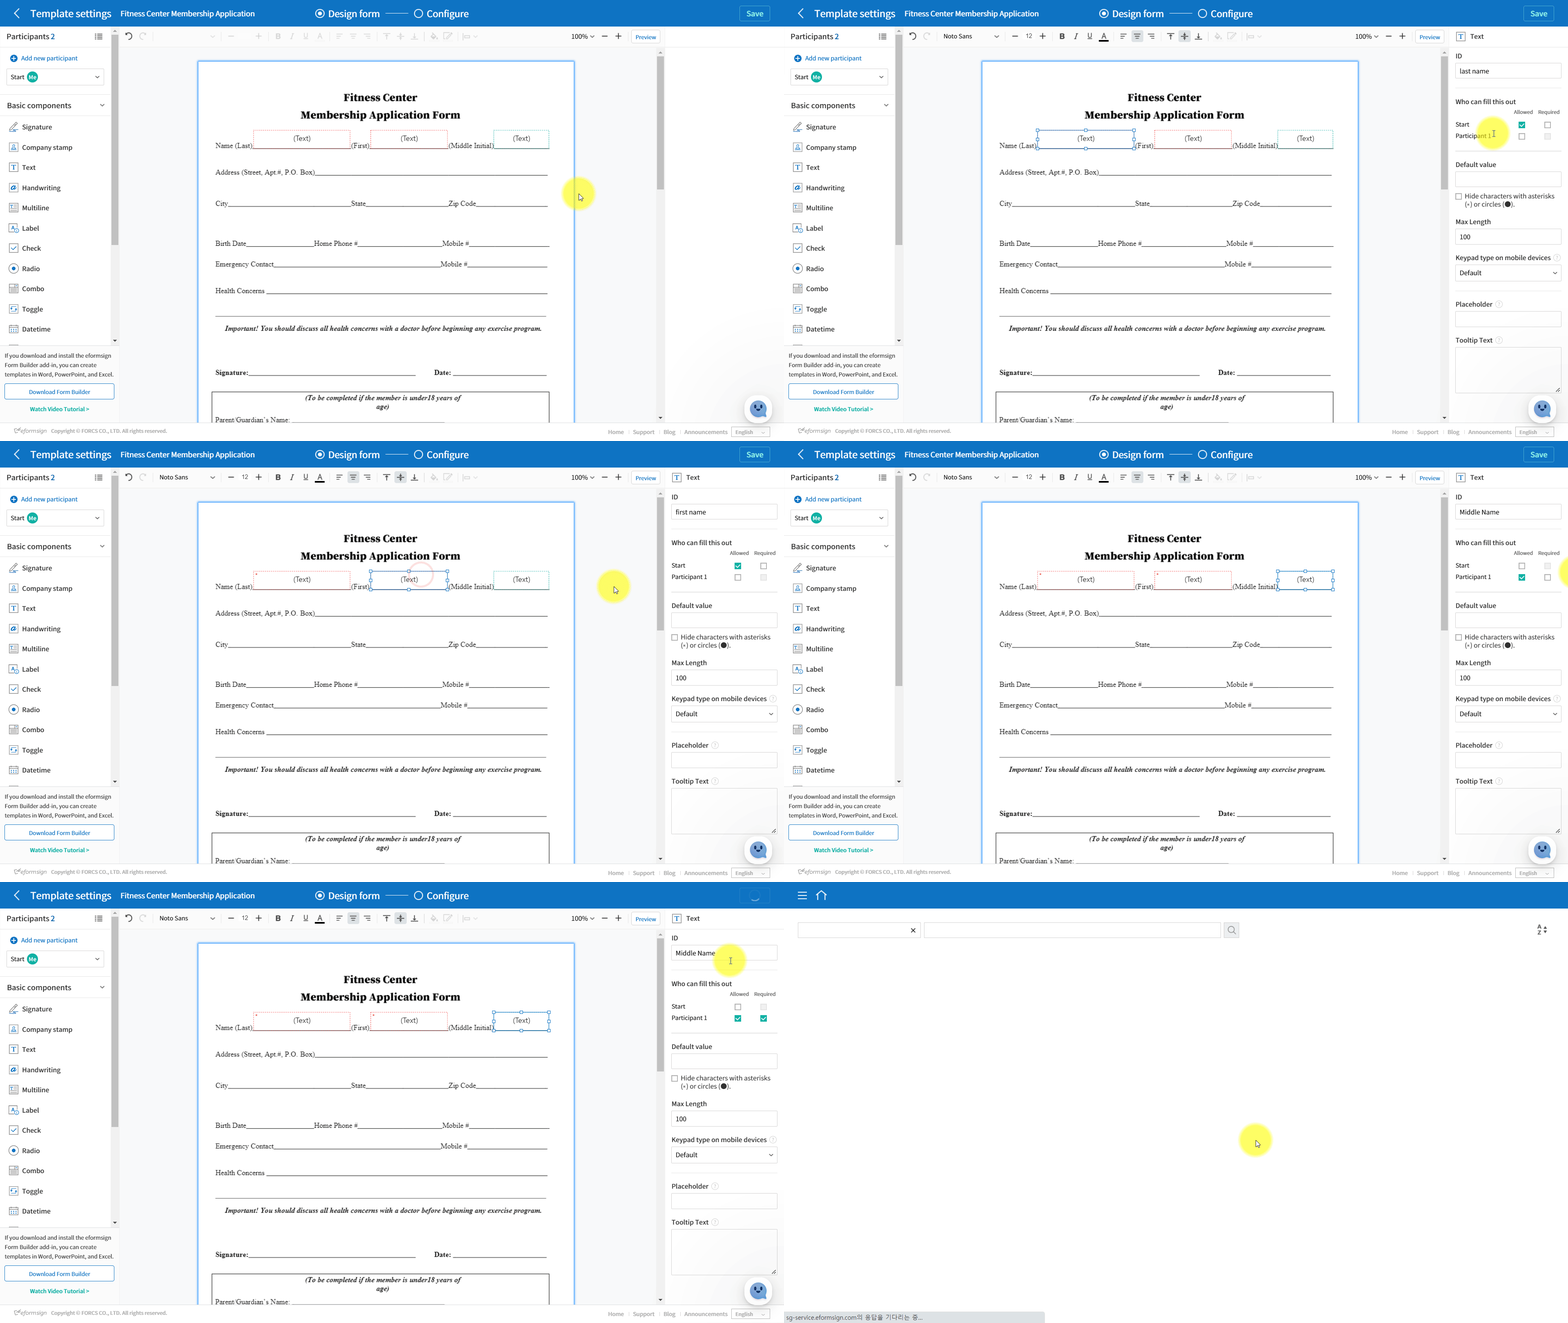
 - Click the component (field) you want to set as a required one.
- Tick the check box under Required in Who can fill this out. Make sure that you tick the check box of the desired workflow step. Note that in order to tick the Required check box, the Allowed check box must be ticked.
- Click the [Save] button at the top right corner of the screen.
| Q. What’s the difference between an Allowed and Required field? ◾ Allowed: The participant can fill in the field or make changes to the value entered. However, the participant can still send or submit documents without filling in the field. ◾ Required: The participant must fill in the field and cannot send or submit documents without filling it in. |

