

If you upload an Excel or Word file via the Form Builder Microsoft Office add-in, you can choose to hide sections or sheets in the document in the participant step of the workflow. By using the Hide sheets or sections option which is displayed on the right of the participant step, you can choose which sheets/section will be hidden from the participant.
Creating multiple sheets/sections in a document
To hide a sheet/section of a document, the template must consist of multiple sheets/sections first.
- Excel: Must consist of two or more sheets.
- Word: Must consist of two or more sections. Note that you must set “Breaks” to “Next Page” when creating sections.
[Tip] Creating sections in Word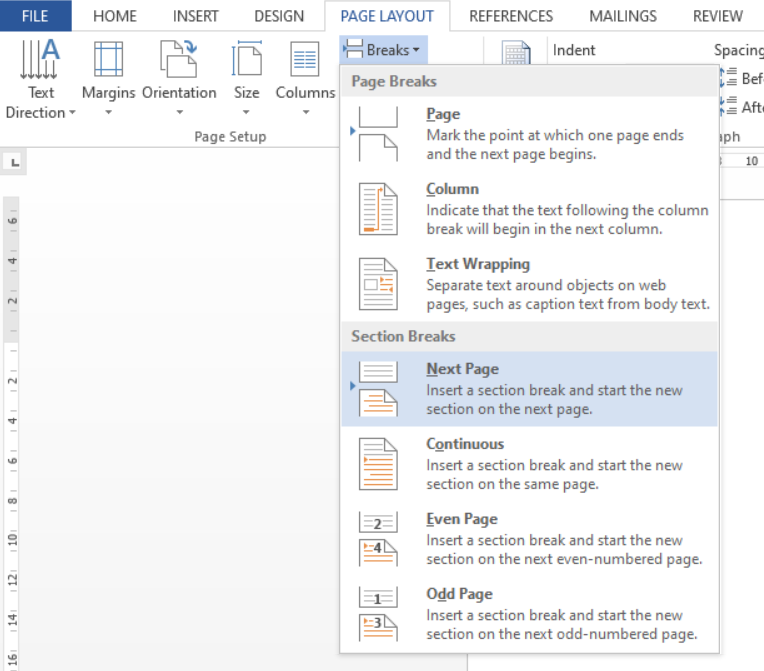
1. Place the mouse cursor on the part of the page you want to create sections.
2. Go to the PAGE LAYOUT menu.
3. Select “Next Page” under “Breaks”.
4. Check that sections have been created.
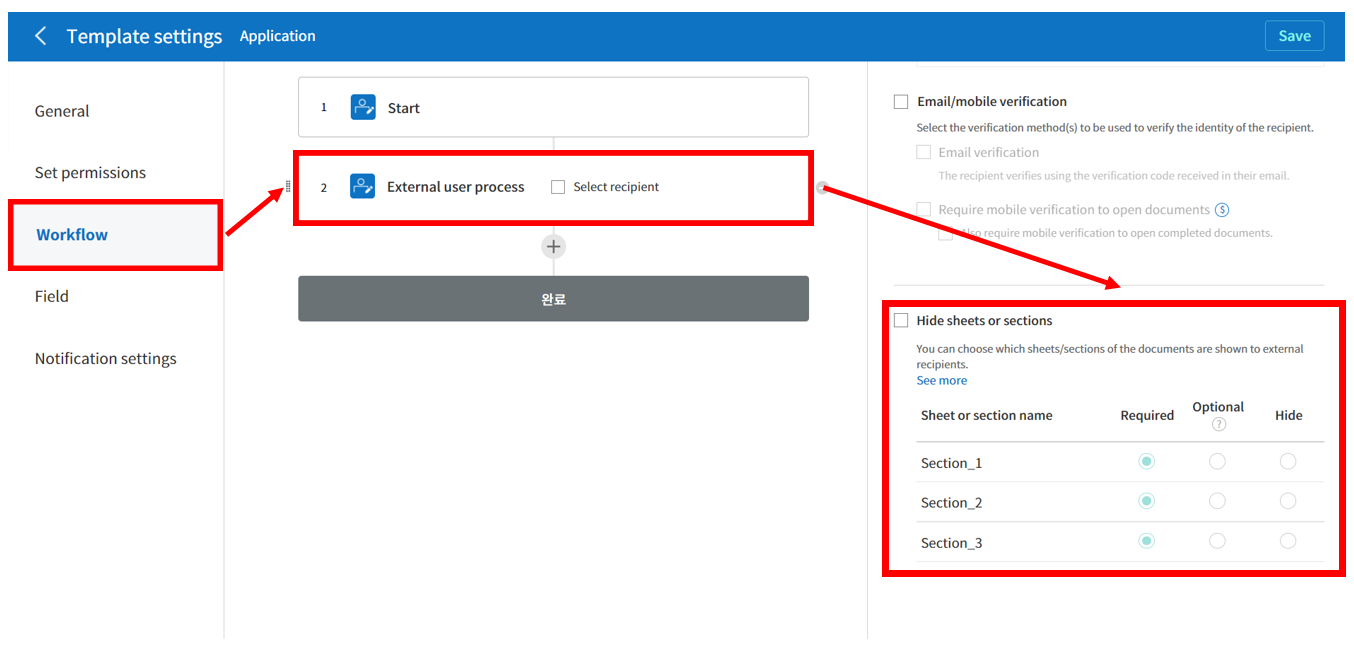
Using the settings for hiding sheets/sections
Only the company administrator and members with the Manage templates permission can perform this action.
- Log in to eformsign.
- Go to the Manage templates menu in the sidebar.
- Click the template settings icon (⚙) to go to the Template settings page.
- Click the Workflow tab.
- Add a participant step (if there already is a participant step, then click on that step).
- Check the Hide sheets or sections option in the Properties tab on the right.
- Select the sheets or sections you want to show or hide.
- Required: The selected sheet/section will be shown to the participant.
- Optional: The participant decides whether to show the selected sheet/section.
- Hide: The selected sheet/section will be hidden from the participant.