


Thanks for visiting our June product updates blog. Take a look at what eformsign has been up to this month.
[New] Template saving for ‘New from my file’
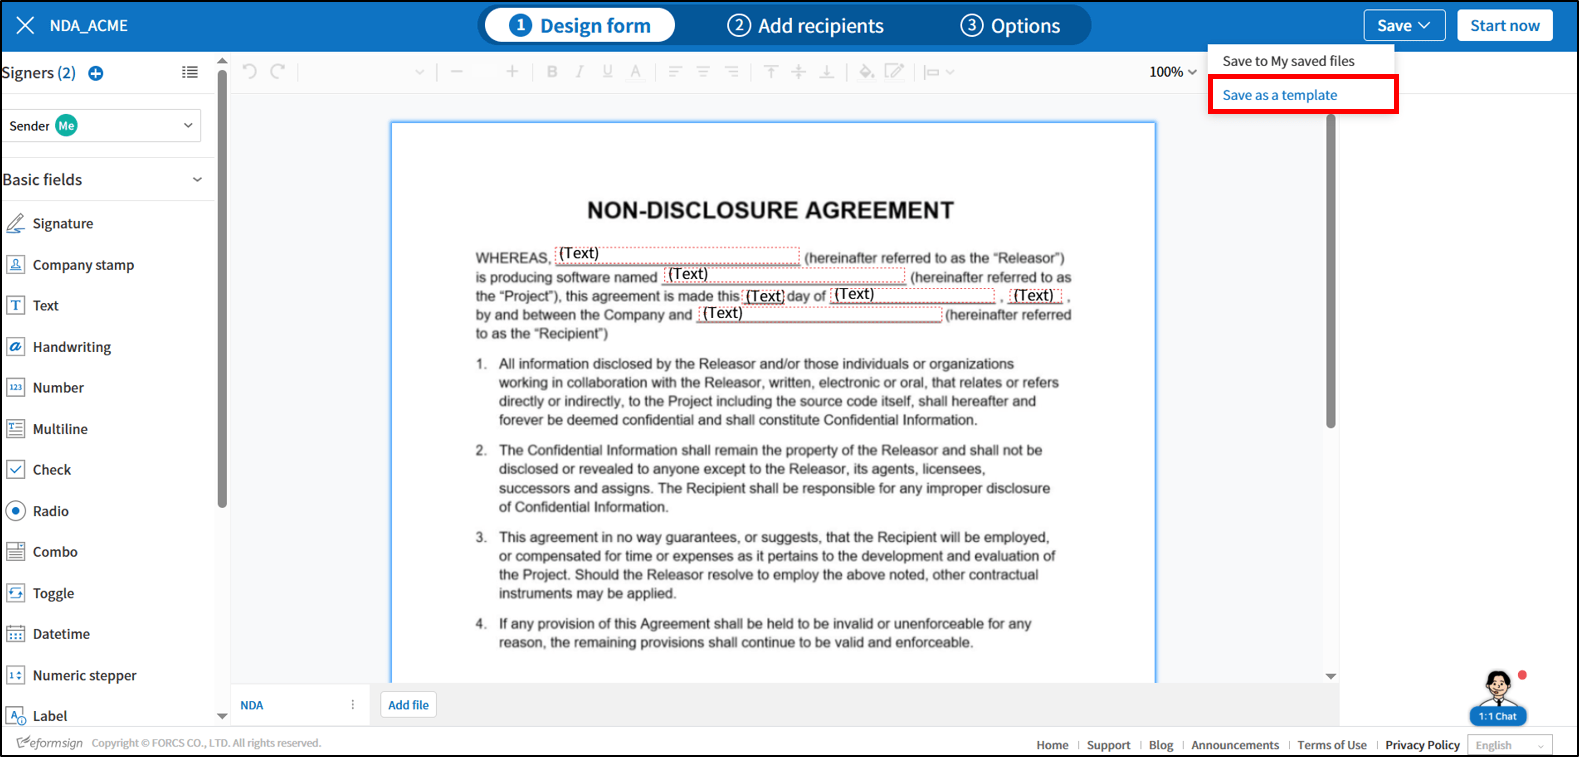
We have added the ‘Save as template’ feature which allows you to save a document created using ‘New from my file’ as a template, enabling you to retrieve all the saved fields and values when creating a new document.
✅ Instructions:
- When creating a document using ‘New from my file’, click the ‘Save’ button before clicking the ‘Start now’ button.
- Click the ‘Save as a template’ option to navigate to the ‘Create template’ screen.
※Once you navigate to the ‘Create template’ screen, you cannot go back to the current screen.
※If you click the ‘Save as a template’ option, you can continue with template creation with the added fields and values intact. - Click the ‘Save’ button to save the file as a template.
※You can view and manage saved templates in the ‘Manage templates’ screen.
✅The following data are retrieved:
- Template name and abbreviation
- Form design settings and field values
- Number of signers and step names
- Workflow steps and their properties
- Field settings and notification settings
✅UI/UX Changes:
- To clarify the distinction between files and documents, the term ‘file’ now refers to the step before creating a document.
- ‘My saved documents’ is renamed to ‘My saved files’.
[New] Multilingual notification templates
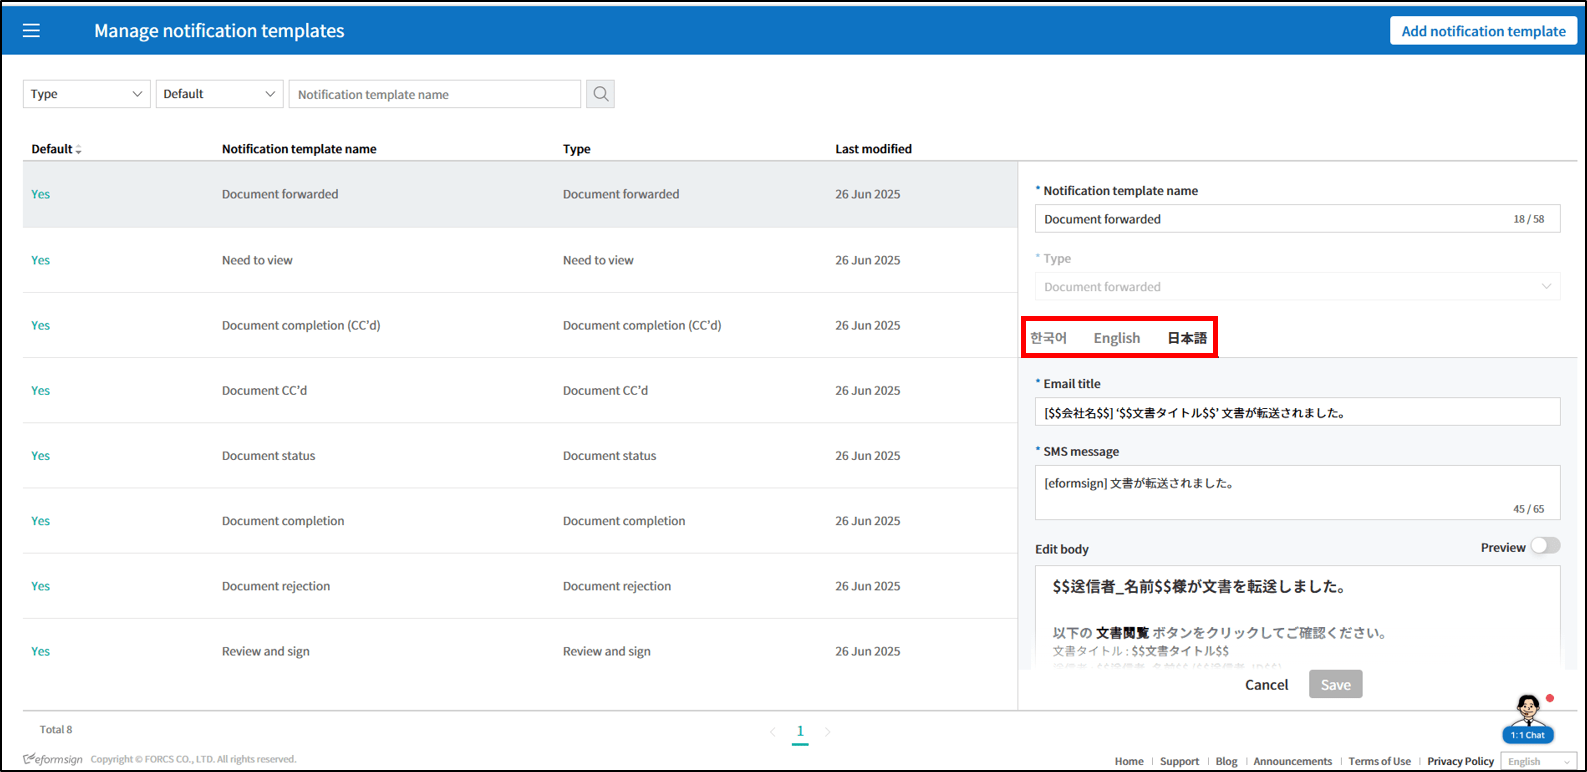
We have added a feature that allows you to compose and manage your notification templates in multiple languages (Japanese and Korean, in addition to English), and choose which language to send to each recipient.
✅ Multi-language managements:
- The seven default notification templates are now available in Korean and Japanese, in addition to English.
- You can view and edit them for each language.
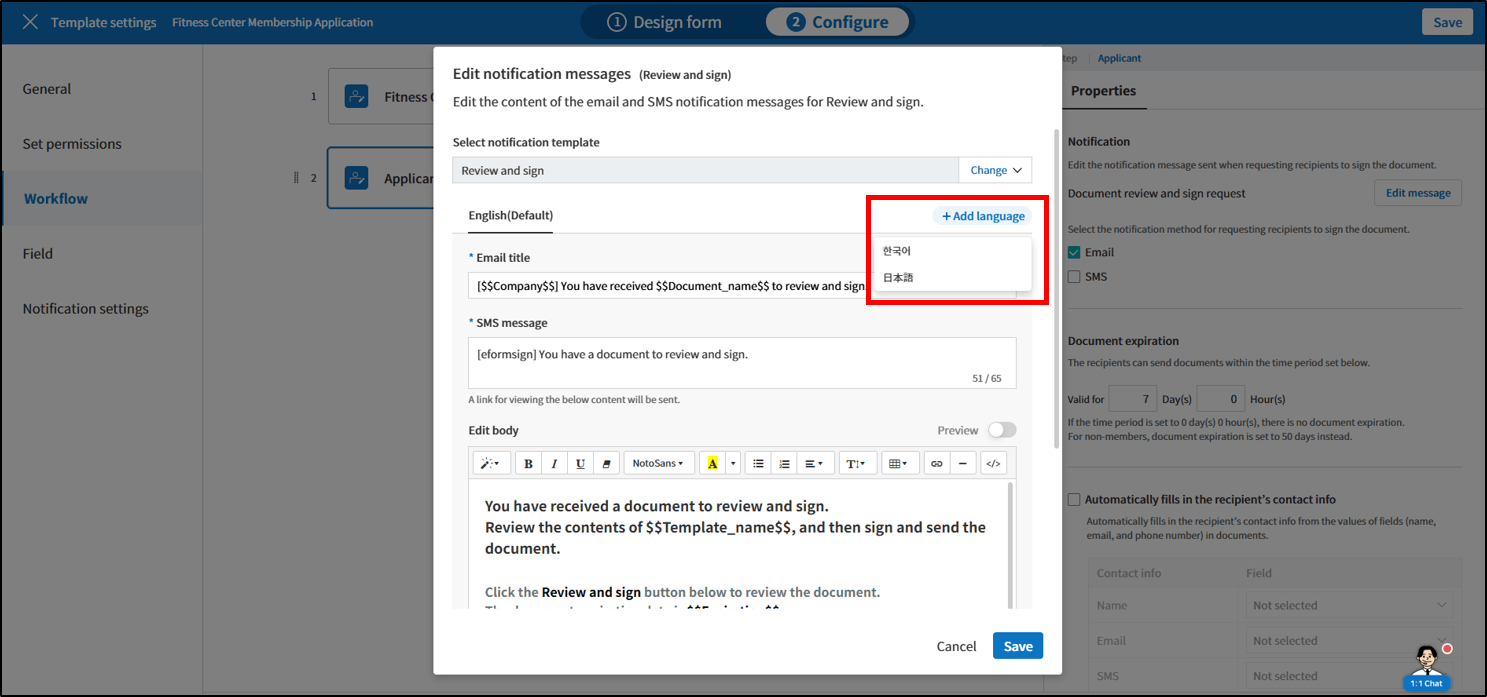
✅ How to select a notification language for each recipient step when using ‘New from template’:
- Navigate to the ‘Manage templates’ page.
- Click the ‘Settings’ button for the desired template.
- Navigate to ‘Configure > Workflow’.
- Select a workflow step and click the ‘Edit message’ button under ‘Properties > Notification’.
- On the ‘Edit notification messages’ pop-up displayed, click the ‘+Add language’ button to add a language (Korean, Japanese).
- The email title, SMS message, Body, etc. will be displayed in the selected langauge.
- View and edit the notification content as desired.
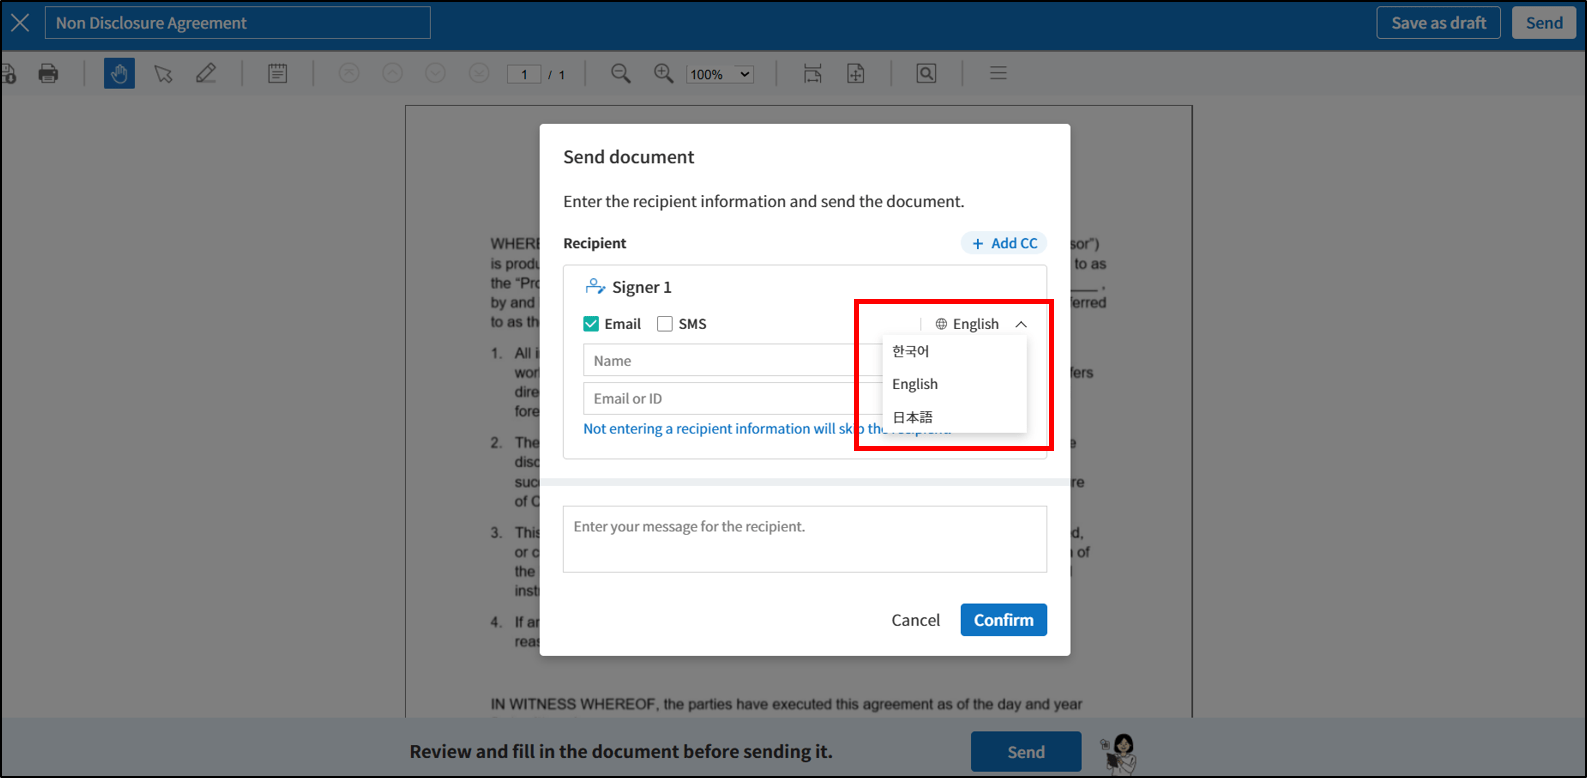
※Languages added can be selected in the ‘Send document’ pop-up when sending a document using ‘New from template’. For example, if you add Japanese and Korean, then you can select any one of the two in the ‘Send document’ pop-up before sending a document.
✅ How to select a notification language for each recipient step when using New from my file
- Navigate to the ‘New from my file’ page.
- Upload a file and navigate to the ‘Add recipients’ step.
- Select a workflow step you want and then click the language symbol on the right.
- .Select the language you want.
- Click the ‘Edit message’ button on the right under ‘Recipient options > Notification’.
- In the ‘Edit notification message’ pop-up displayed, view and edit the content in the selected language.

※These features are only available to companies created after the June 25th update. Existing companies can have this feature enabled upon request.
[Enhancement] Usage status page
We have added a feature that allows you to view usage data not just by week, month, or year, but also for any custom date range.
- Custom period search:
Set your own start and end dates to fetch usage stats for your chosen timeframe.
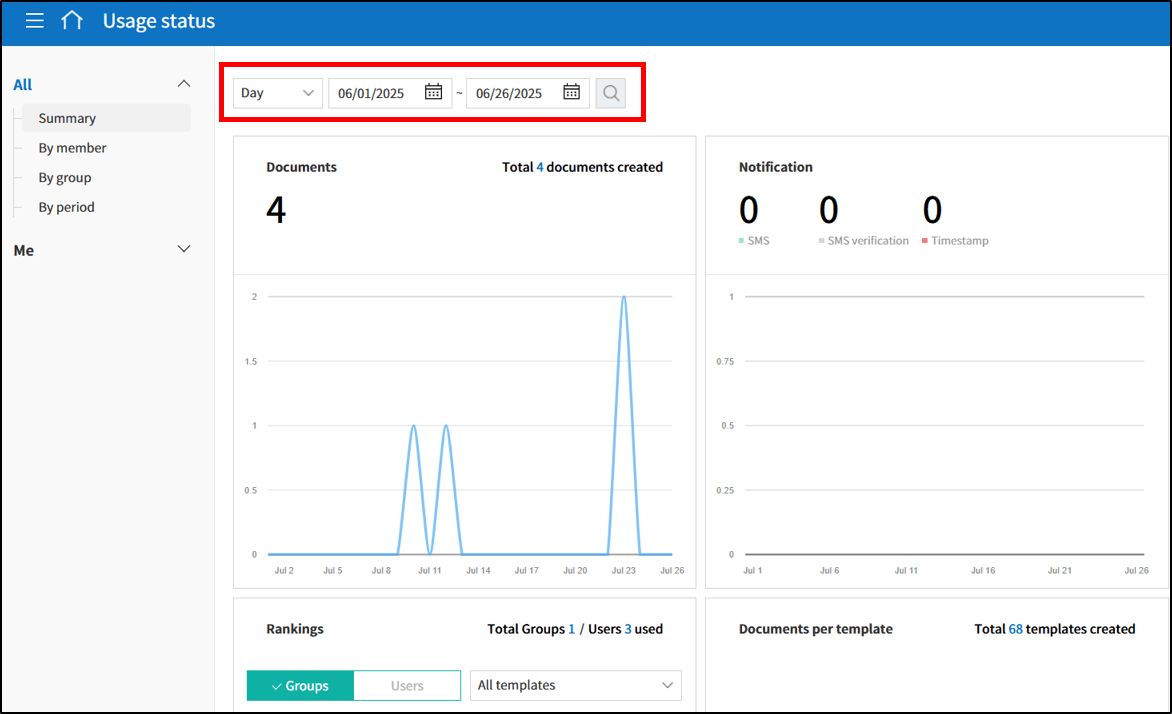
- Daily granularity:
View usage on a day‑by‑day basis within your selected period.

- Member names in CSV:
When exporting usage data, the CSV will now include each member’s name
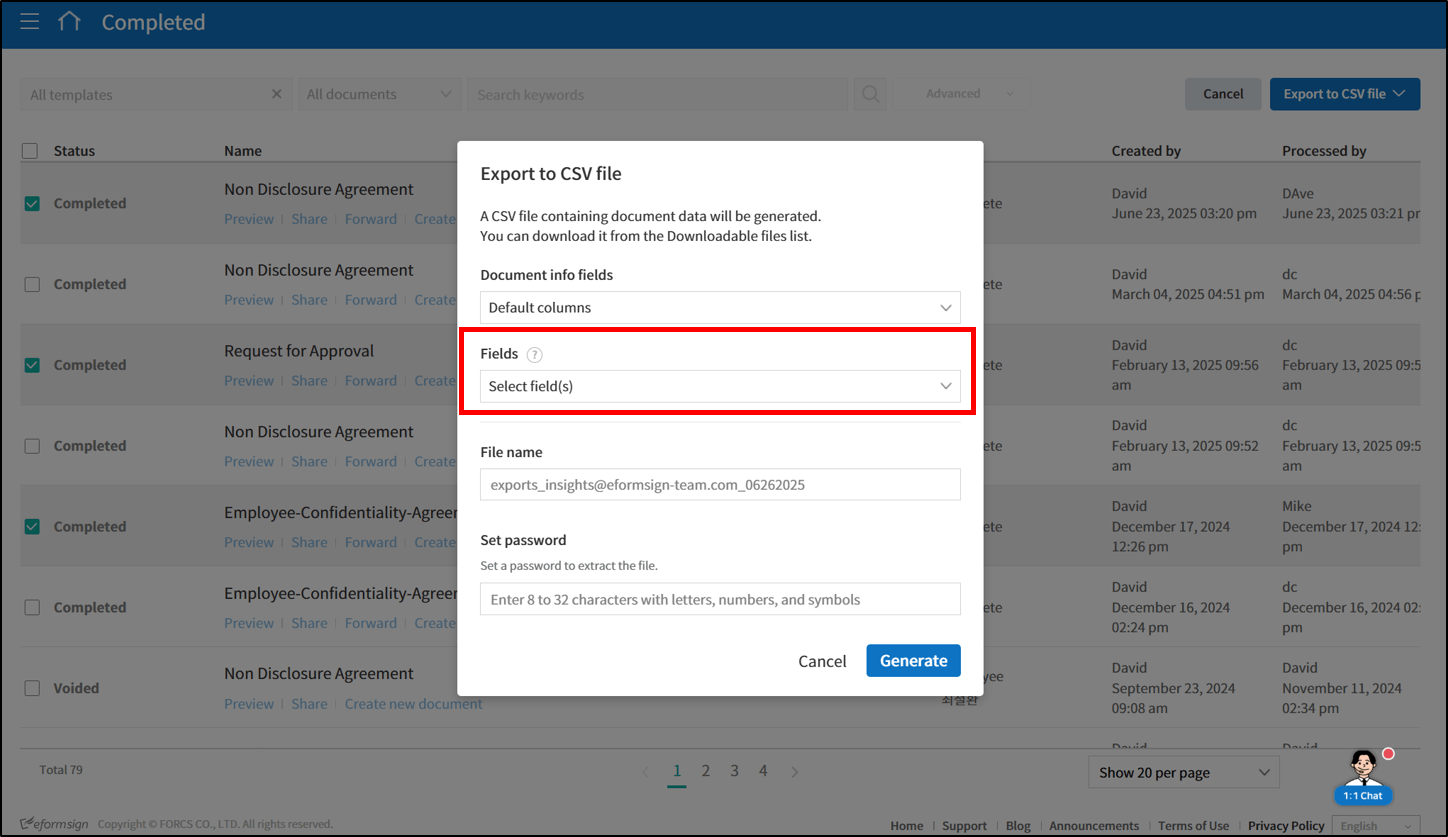
[Enhancement] CSV download now includes all fields across multiple templates
Previously, downloading a CSV for a category or all templates included only the basic fields. With this feature update, if you select multiple templates in one category (or all templates) and generate a CSV, every field from all included templates will be presented as separate columns.
✅ Instructions:
- Navigate to a document inbox or the ‘Manage templates’ page and click the Export to CSV file icon on the top right corner.
- Select the documents you want to download and the click the ‘Export to CSV file’ button.
- Select the drop-down menu under ‘Fields’ in the ‘Export to CSV file’ pop-up.
- All the fields in the selected documents will be displayed. Either select only the fields you want or select them all and then click the ‘Generate’ button to export to a CSV file.
[Other] Usability improvements
We have made the following UI/UX improvements for usability.
1. Change field types: Allows you to change the type of an already-added field when designing forms online.
✅ Instructions
- When designing a form, right-click on the desired field and then select the ‘Change field type’ option.
- Select the field type you want to change to.

※ This feature is not available in eformsign for Microsoft Office.
2. Send in bulk page UI/UX
- Enter manually: UI/UX has been upgraded for usability.
- Upload file: clear prompts guide users to input their email or mobile numbers
We will continue to enhance eformsign with ongoing feature updates to provide a more secure and efficient electronic signature service. Stay tuned for more updates!