Have you ever wished you could schedule documents to be sent for signatures at a future date and time? eformsign’s Schedule send feature offers just that convenience. It allows document creators to plan ahead, ensuring documents are prepared and sent automatically later in the future when needed. This feature proves particularly useful in various scenarios such as:
- Employment contracts: Schedule employment contracts to be sent at the start of salary negotiations.
- Event registrations: Send registration forms to potential attendees on the day registration opens.
- Background checks: Automatically send employment contracts the day after a candidate passes their background check.
- Service cancellations: Notify clients of service cancellations a week after a missed payment.
Schedule sending documents not only enhances efficiency but also ensures timely communication, ultimately saving you time and effort. In this blog, we’ll explore how to use this powerful feature to streamline your document signing process.
Scheduling a document to be sent at a later date and time
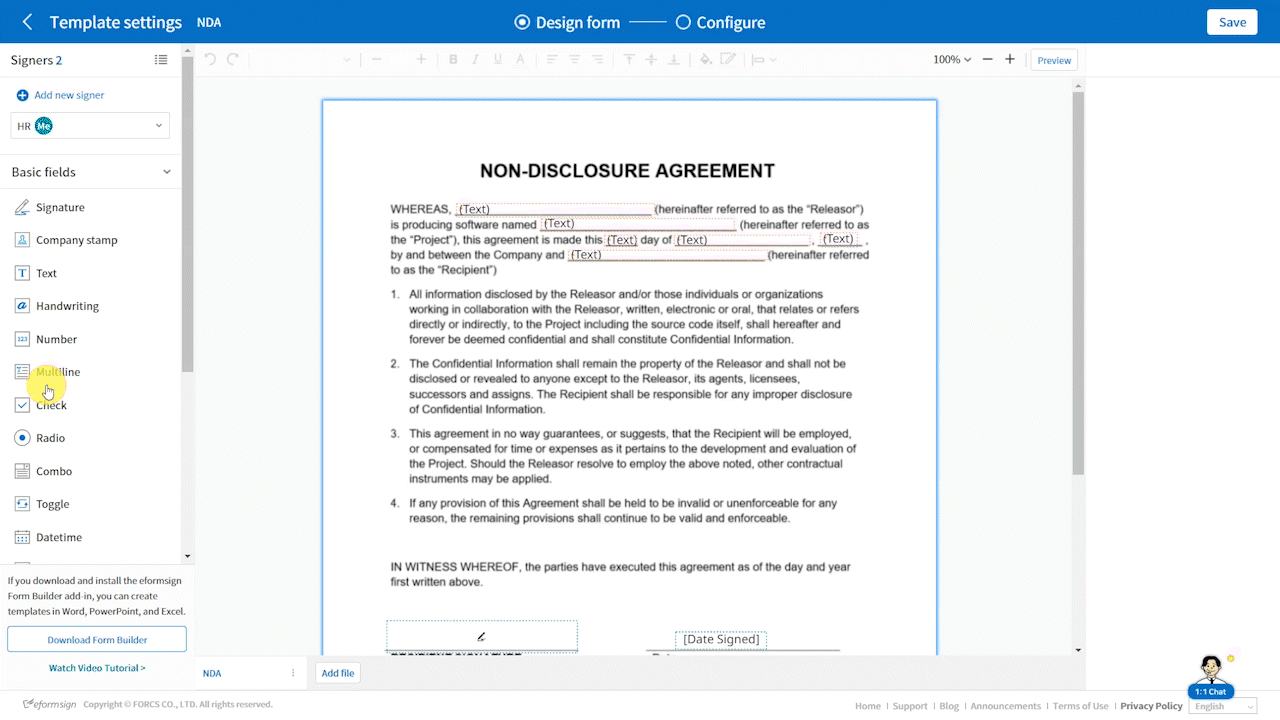
- Navigate to the New from template page and click on the bulk send symbol of a template you want.
*Note that the schedule send feature is only available when you use the bulk send feature. However, you can use the bulk send feature even when sendling a single document as well as multiple documents. - As the document creator, fill in all the required fields. You can fill in multiple rows or just a single row. Note that each row represents a document and each column (except for the ones in blue) represents a field in the document.
*Note that the fields with an asterisk are required fields. - Once you fill in the document(s), click the Preview button at the top right corner of the screen to preview each document.
- When you are ready to send the document(s), click the Schedule send button at the top right corner of the screen.
- In the pop-up displayed, select the date and time you want to send the document(s) and click the Confirm button to finish.
*Note that the scheduled date and time must be at least 10 minutes from the current time. - The document is now scheduled to be sent automatically at the date and time you selected.
*Note that the schedule send feature can only be used for documents created from a template.

Cancelling a scheduled document
- Navigate to either the Bulk send inbox or the Manage bulk sent documents page.
- Click the Cancel send button for the document(s) scheduled to be sent and click Yes in the pop-up displayed to finish cancelling.
Changing the date and time of a scheduled document
- Navigate to either the Bulk send inbox or the Manage bulk sent documents page.
- Click the Change schedule button for the document(s) scheduled to be sent.
- Select either Schedule send to change the date and time of the document(s) or Send now to send the document(s) now and then click the Confirm button to finish.
*Note that after you send documents by clicking Send now, you can stop sending the documents in queue by clicking the Stop sending button. This will stop sending the documents that have yet to be sent.

Tip: Setting a signing period for signers
In eformsign, you have the ability to set a signing period in which signers can sign documents. For example, If you want signers to be able to only sign from July 1st 09:00 to July 11th 18:00, then you can set the signing period for that by following the below instructions.
- After selecting a template in the Manage templates page, navigate to Configure > Workflow and select a recipient step. In the Properties tab on the right, change the Document expiration to 10 Day(s) 9 Hour(s).
- Then, select the template you want in the New from template page, fill out the necessary fields, and set the scheduled date and time to 07/01/2024 09:00.
- The document(s) will be sent on 07/01/2024 09:00 and will expire on July 11th 18:00.