Automate Business Workflow
Customise the flow of eForm/eDocument with eformsign workflow
View, Edit and Approve eContract Even if You are on a Holiday
eformsign provides a powerful workflow for all stakeholders to view, edit and approve eContract.
An employee or customer would be able to fill, sign and submit eContract online even if they are not a subscribed user.
Different roles can be assigned to employees with different levels of access and permissions to access eDocuments.
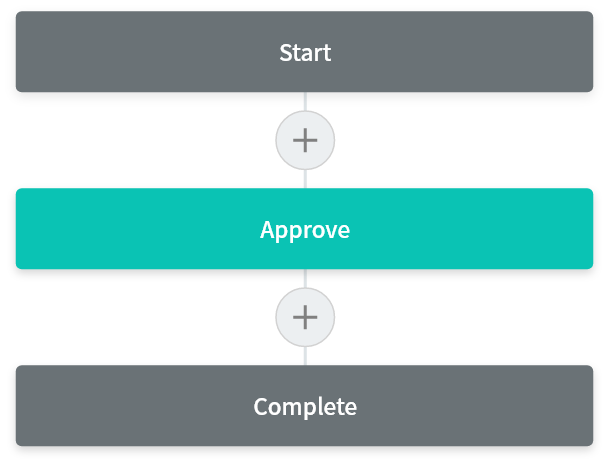
Build an automated workflow with just 3 steps
eformsign's workflow is simple at its best. You can add as many of the steps below as you like between the basic workflows Start and Complete.
- Approval: Allowing a user to approve an eDocument.
- Internal recipient: Sending an eDocument to a member in your company to sign.
- External recipient: Sending an eDocument to a user outside of your company to sign.
Sending a sign request to a contracting party
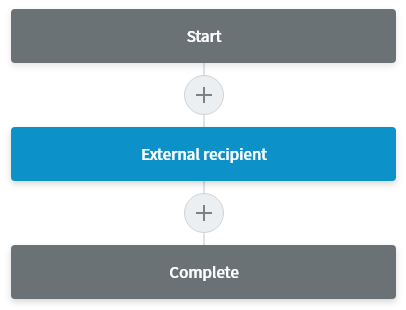
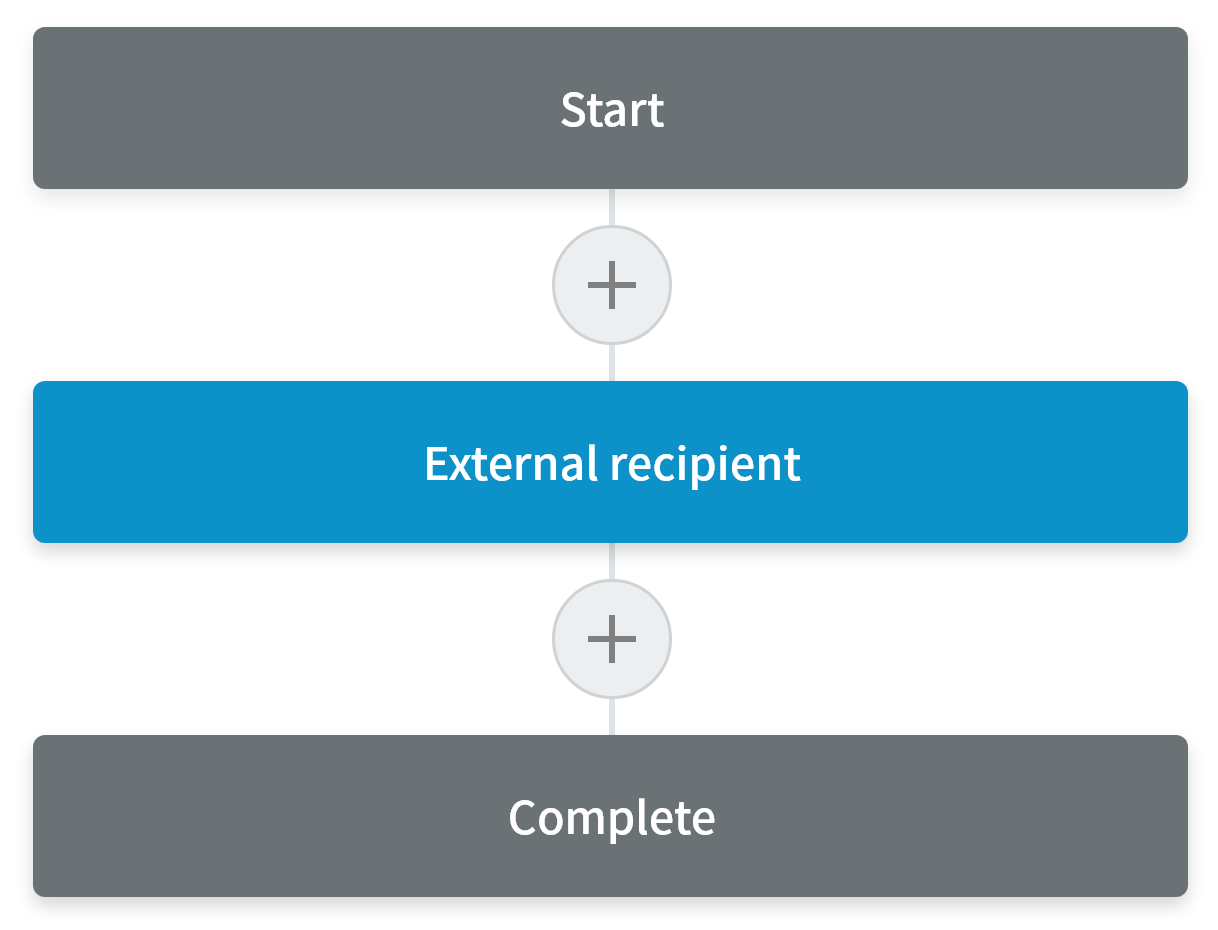
- Start A company member creates and sends an eContract via email or SMS.
- External recipient The contracting party signs the eContract.
- Complete The eContract is archived and a copy is sent to the customer.
Sending a completed job application form to a member in your company

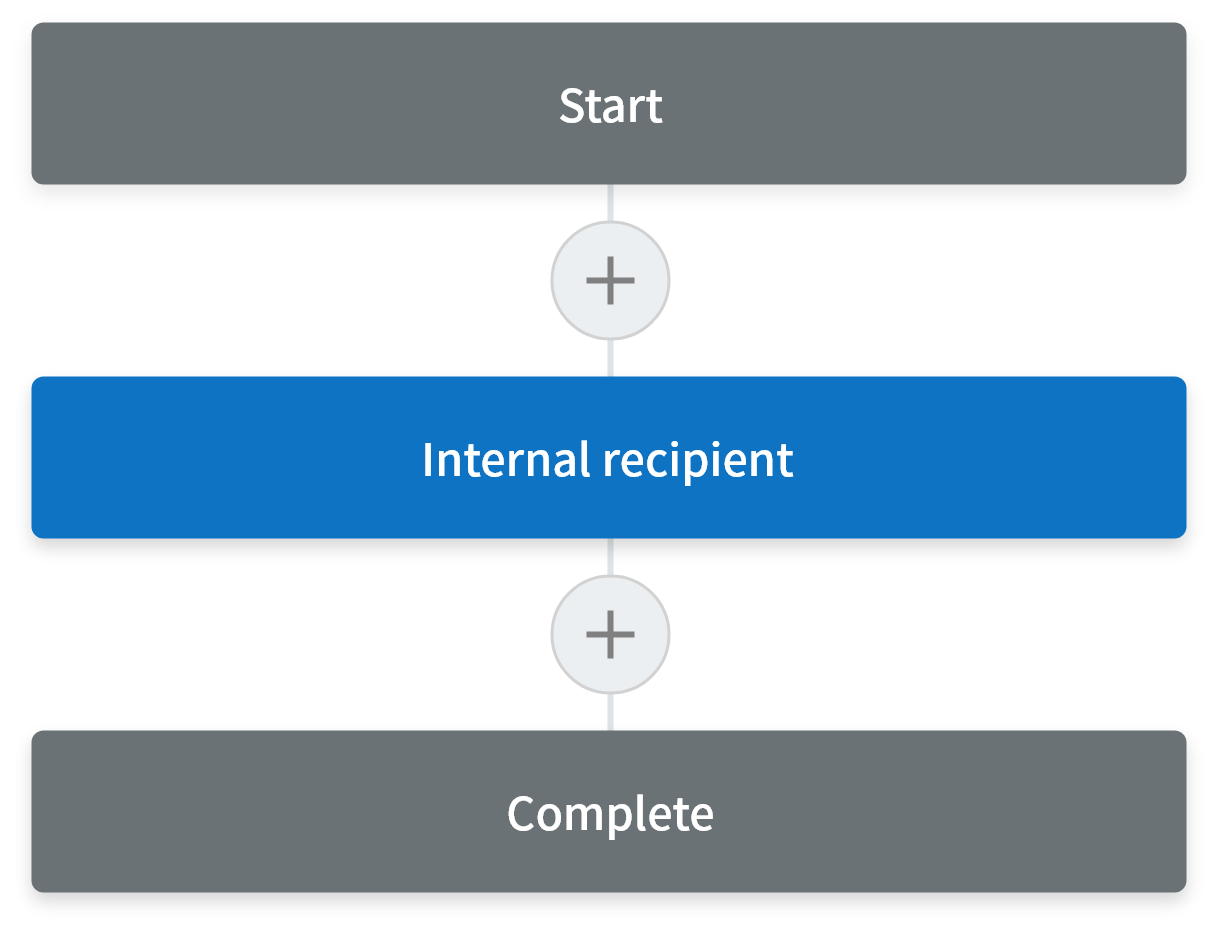
- Start An applicant sends a completed application form via a document URL.
- Internal recipient The department head accepts the application.
- Complete The application is archived.
Submitting a time-off request
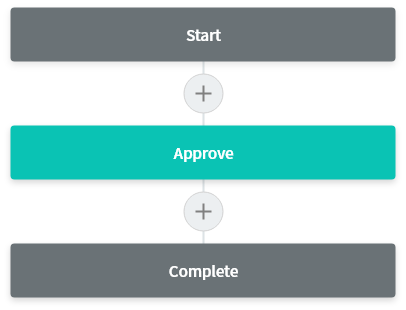
- Start A company member creates a time-off request form and sends it to the approver for approval.
- Approve The approver approves or rejects the request. If rejected, the document goes back to the Start step.
- Complete The approved document is archived.
Basics of eformsign workflow
A list of configurable settings are built in to ensure all eDocuments are properly filled up and processed.
-
Start
- Document URL for external user: Creates an URL for all users to create, edit or view eDocument.
- Set Document Number: Limit the maximum number of documents which can be created.
- Set users or groups who can create the document: Specify the user or group so that only assigned users can create the document.
-
Internal recipient
- Select recipient: Selects the recipient that will receive the document.
-
External recipient
- Set document validity period: Set the expiration period for the document.
- Set document password: Verification methods can be set as the recipient's name, identity number or email.
-
Complete
- Backup completed documents in external cloud storages: Save the completed document onto third-party cloud services such as Dropbox or Google Drive.
- Timestamp documents when completed: Add timestamp to eDocument, recording the date and time the eDocument was completed and signed.
-
Step-by-step control
- Set accessible or required field: Validate eform to ensure all data are keyed into eForm.
- Set notification: Send a notification to user with action required (Request/Approve/Decline/Complete) via text message, email or messengers.
FAQs on Workflow
-
- Do recipients need to sign up to eformsign to sign eForms? open
- No, document creators can send signing requests to recipients via SMS.
-
- Is there a verification step for recipients who have not signed up to eformsign (external recipients)? open
- Yes, document creators can choose a verification method (▲No password, ▲Recipient name, ▲Entered directly by the sender, ▲Select a field below) via Manage templates > Workflow > External recipient > Set password.
-
- Can all the members of a company create documents? open
- Only members and groups with a document creation permission for a template can create new documents from that template. Document creation permission can be given to a member or group by the template manager via Manage templates > Template settings (Gear icon) > Set permissions > Template usage.