How To Use
Create a document
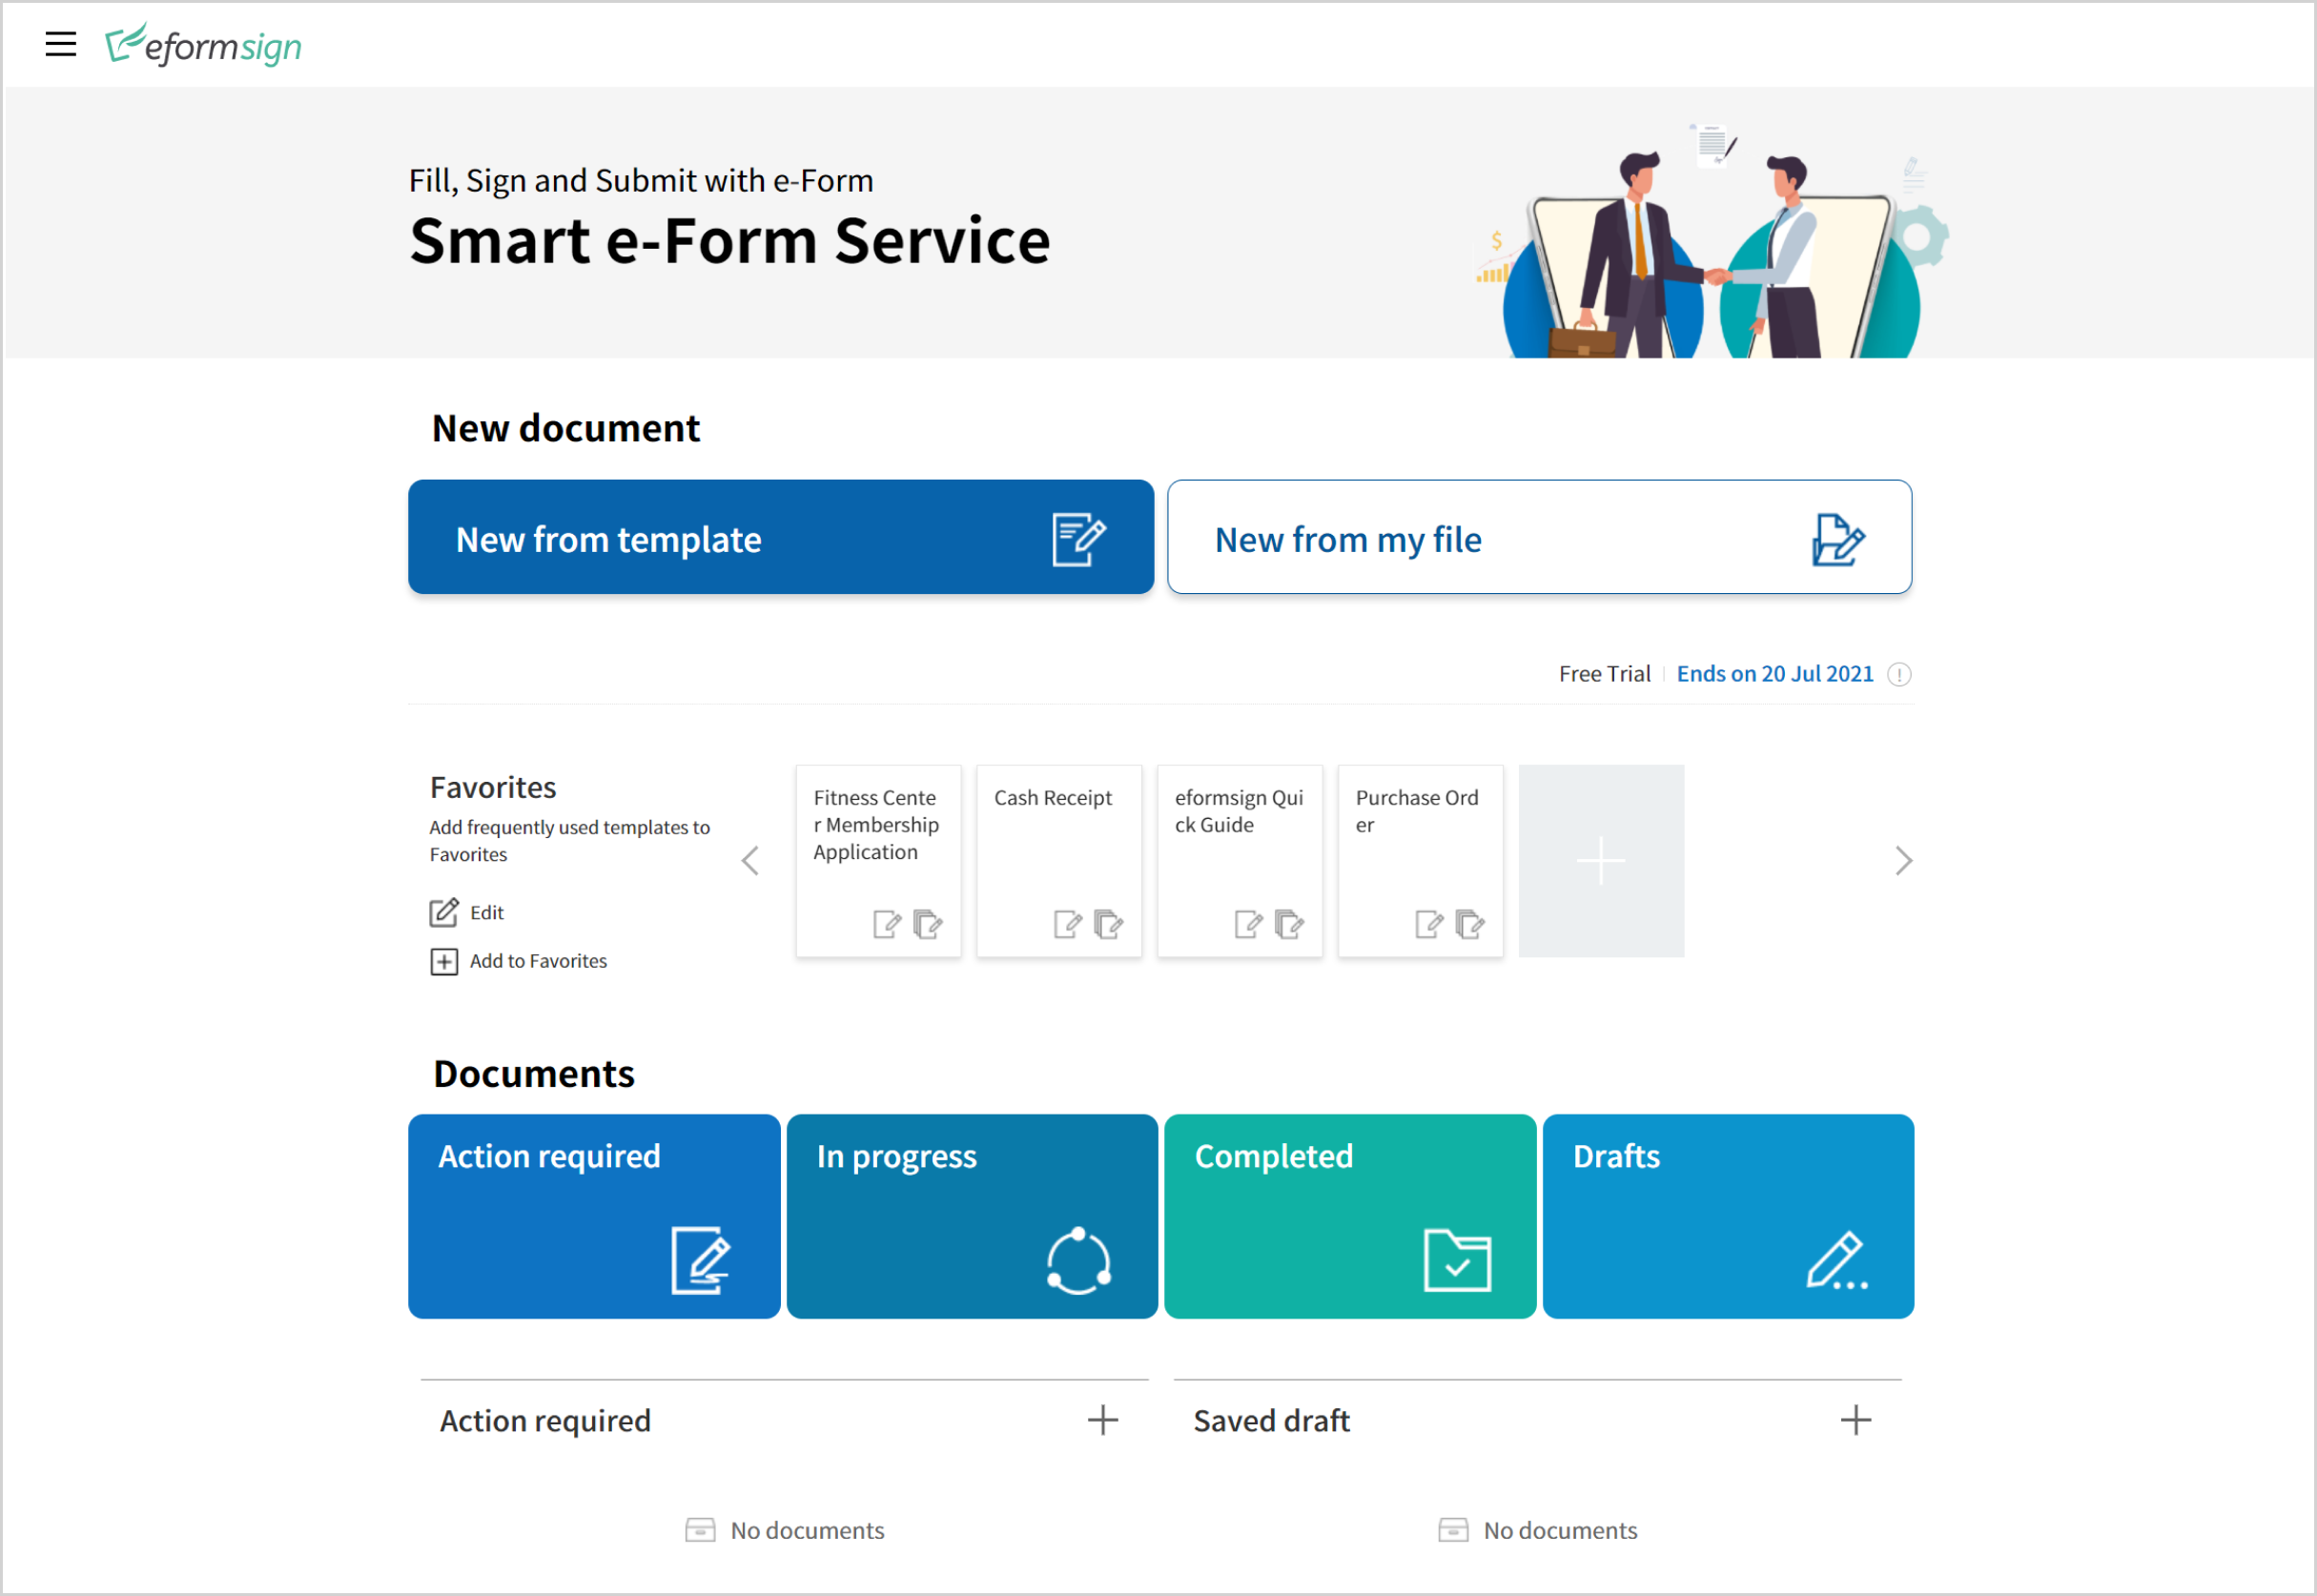
Now let's try creating a document. There are two ways you can create a document in eformsign.
- 1 New from my file: Create a document by uploading a file from your PC to eformsign and send it to recipients.
- 2 New from template: Create a document by using a template already uploaded to eformsign and send it to recipients. Try creating templates by uploading frequently used documents.
Also, you can take a look at the Documents box, which consists of the Action required, In progress, and Completed menus, to see the status of documents.
- 1 Login to eformsign.
- 2 Go to the New from my file menu.
- 3 Upload a document file you want.
- 4 Add document participants and set their roles.
- 5 Add fields to the document and then click Add recipientsat the top of the screen.
- 6 Enter the information of participants and reviewers and then click Start now at the top right corner of the screen.
To temporarily save a document while creating one via the New from my file menu, then click the see more button (three dots) next to the Start now button and then click Save as a draft.
- 1 Login to eformsign.
- 2 Go to the New from my file menu.
- 3 Select a template to create a document from.
- 4 Create a document and click the Send button.
Only members that have been granted permission to manage templates can create documents from templates.
Created documents are stored in three document boxes (Action required, In progress, and Completed) according to the document status.
-
Action required
: View the list of documents that you need to sign, approve, or send.
-
In progress
: View the list of documents you have created or processed but are incomplete.
-
Completed
: View the list of all the completed documents you created.